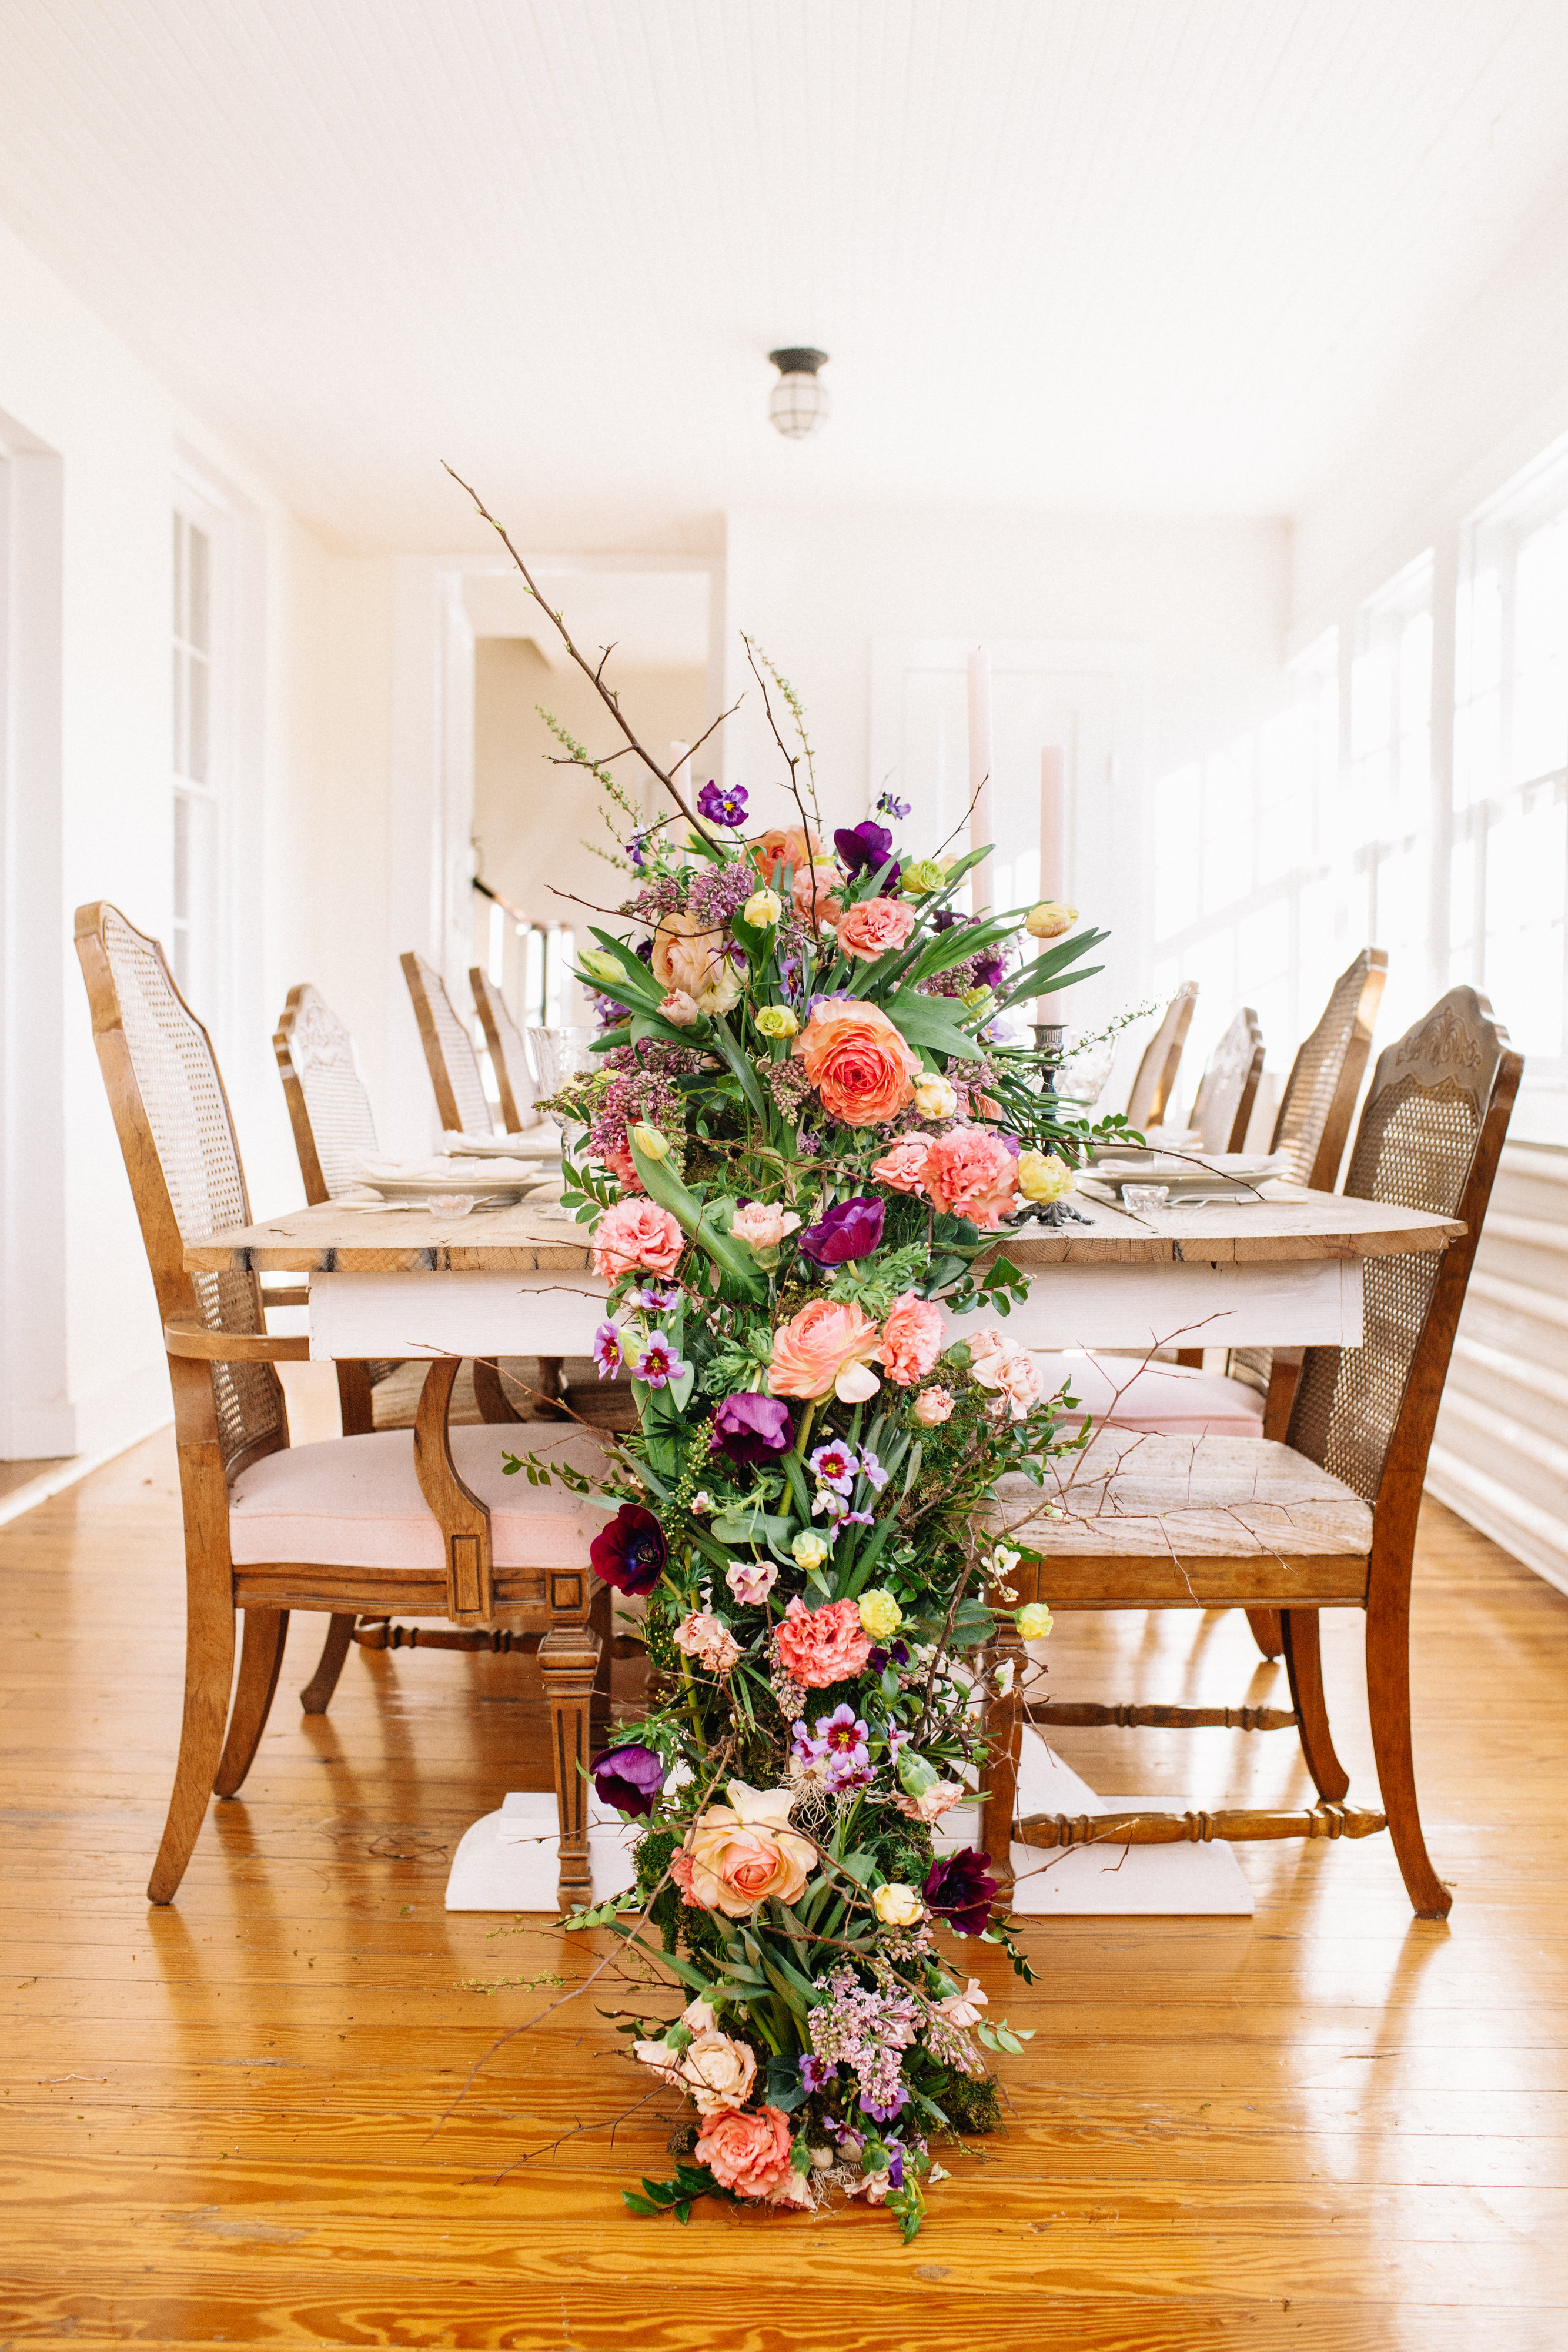
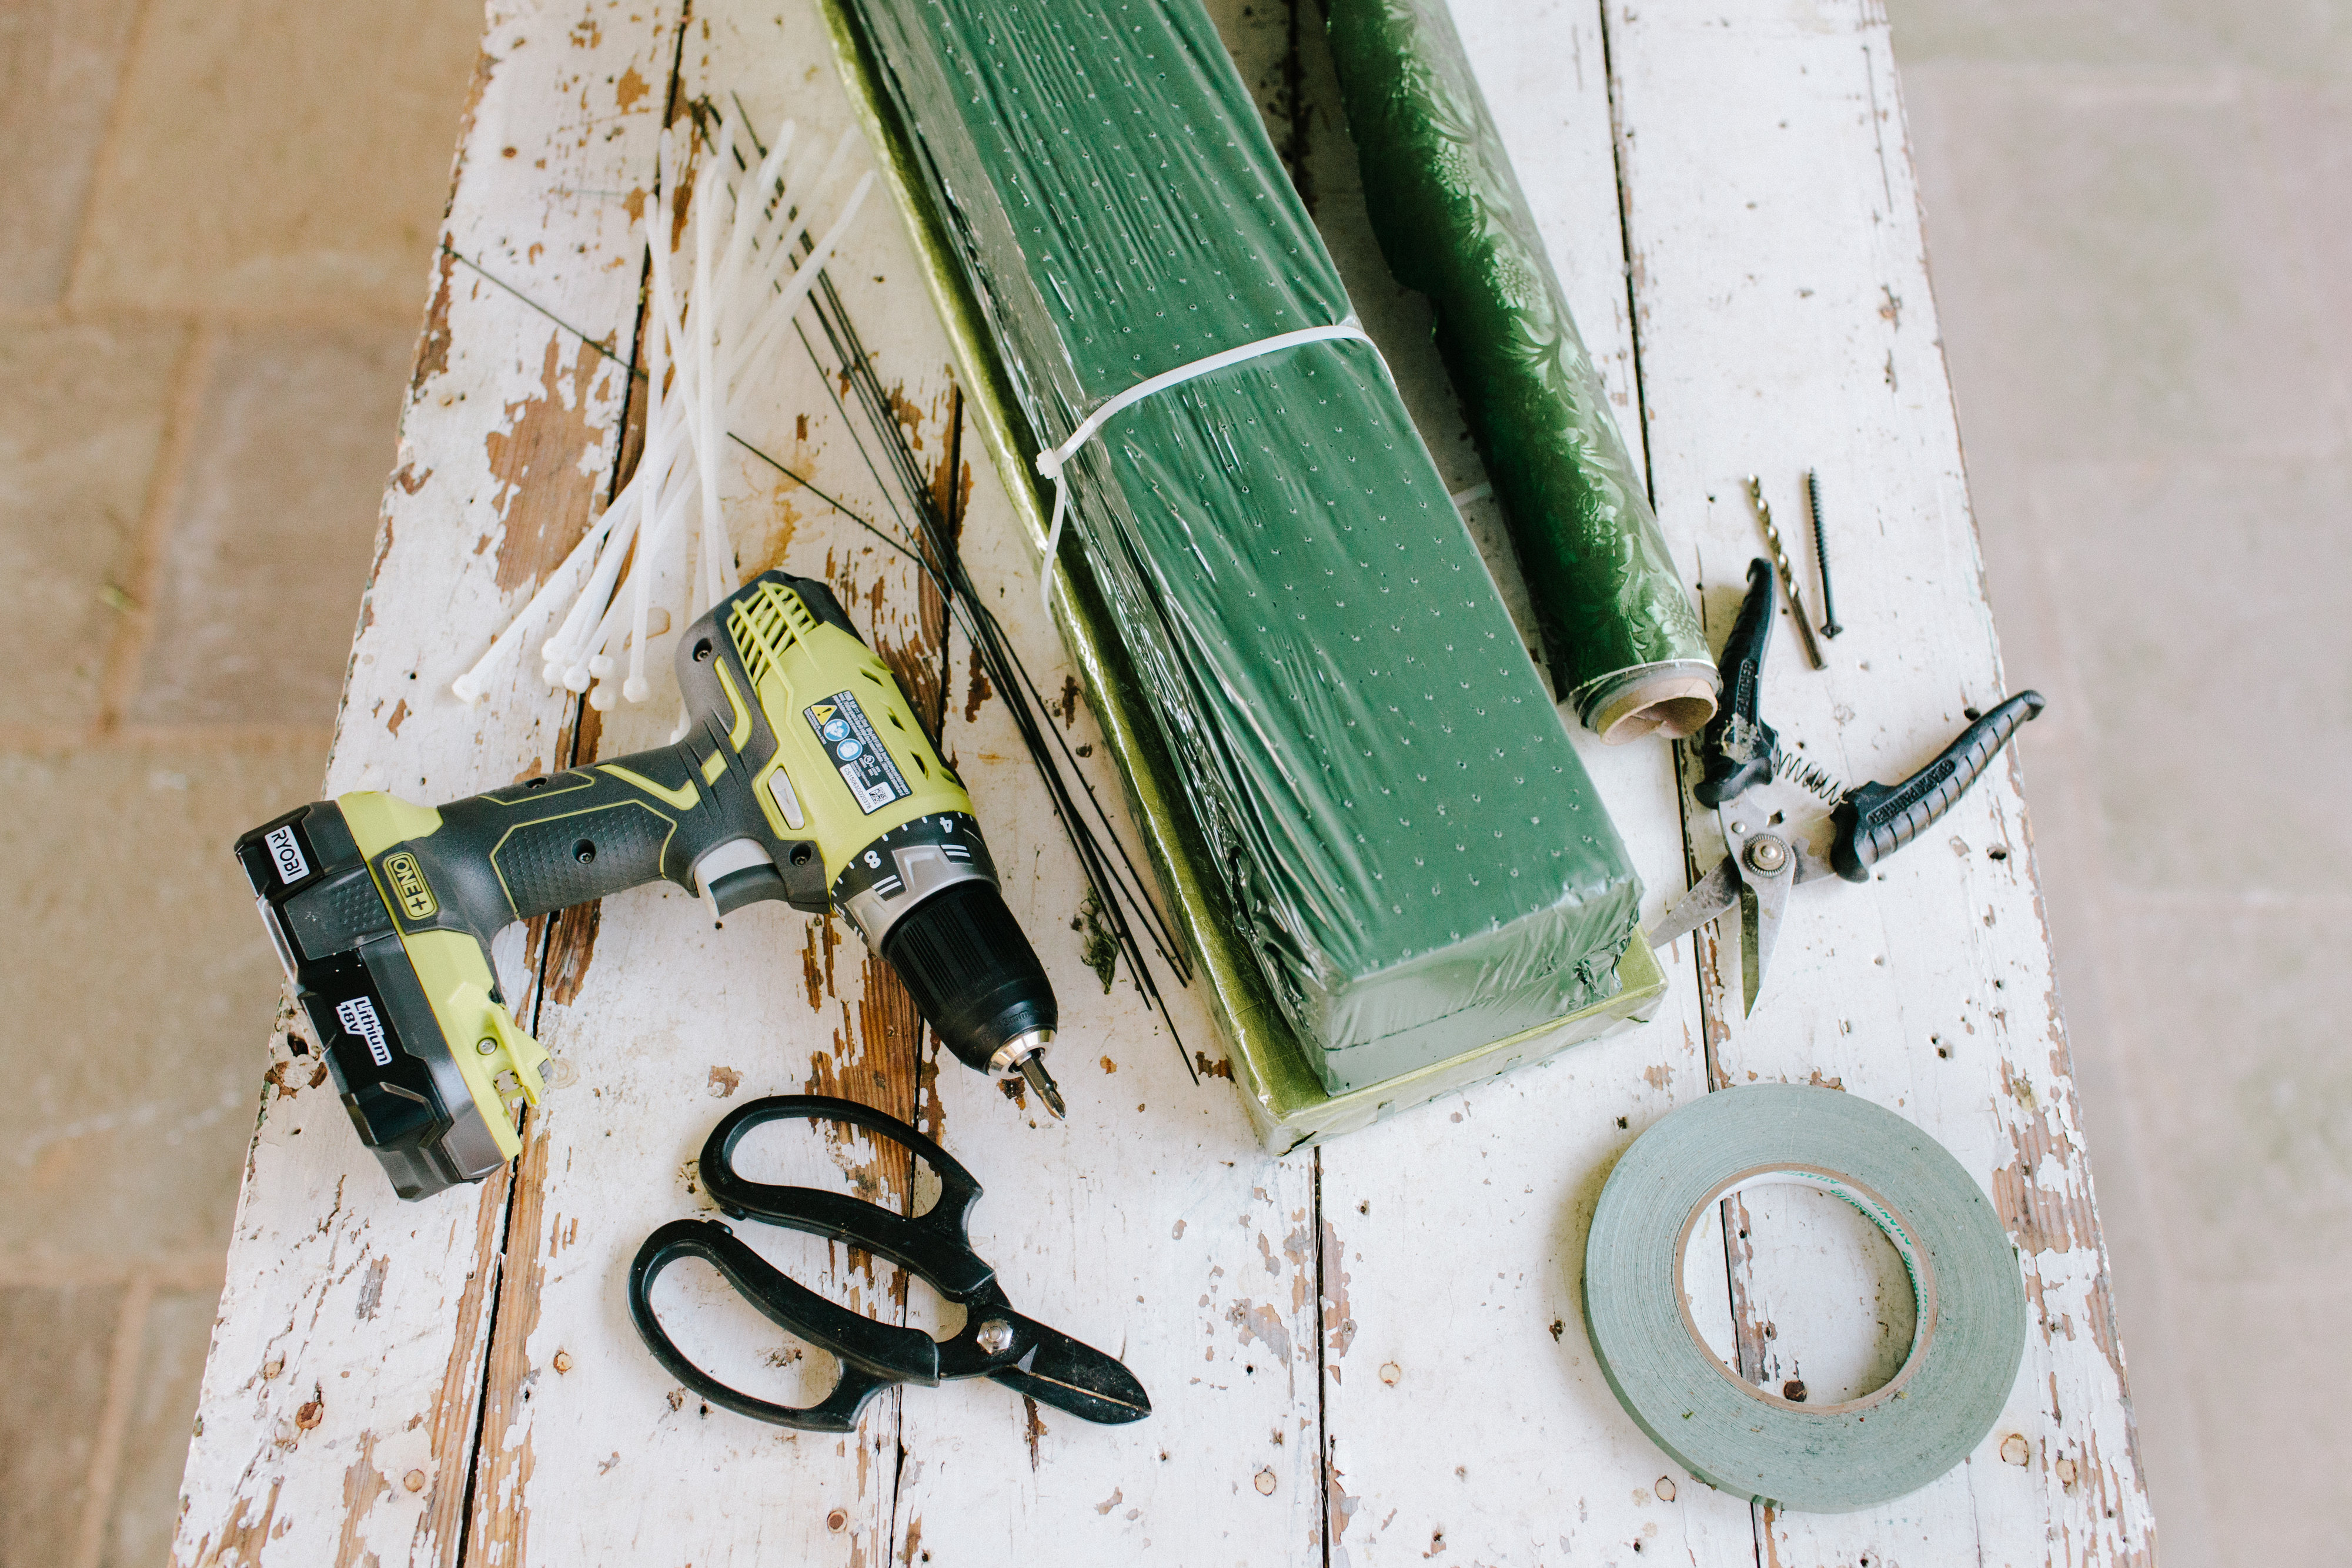
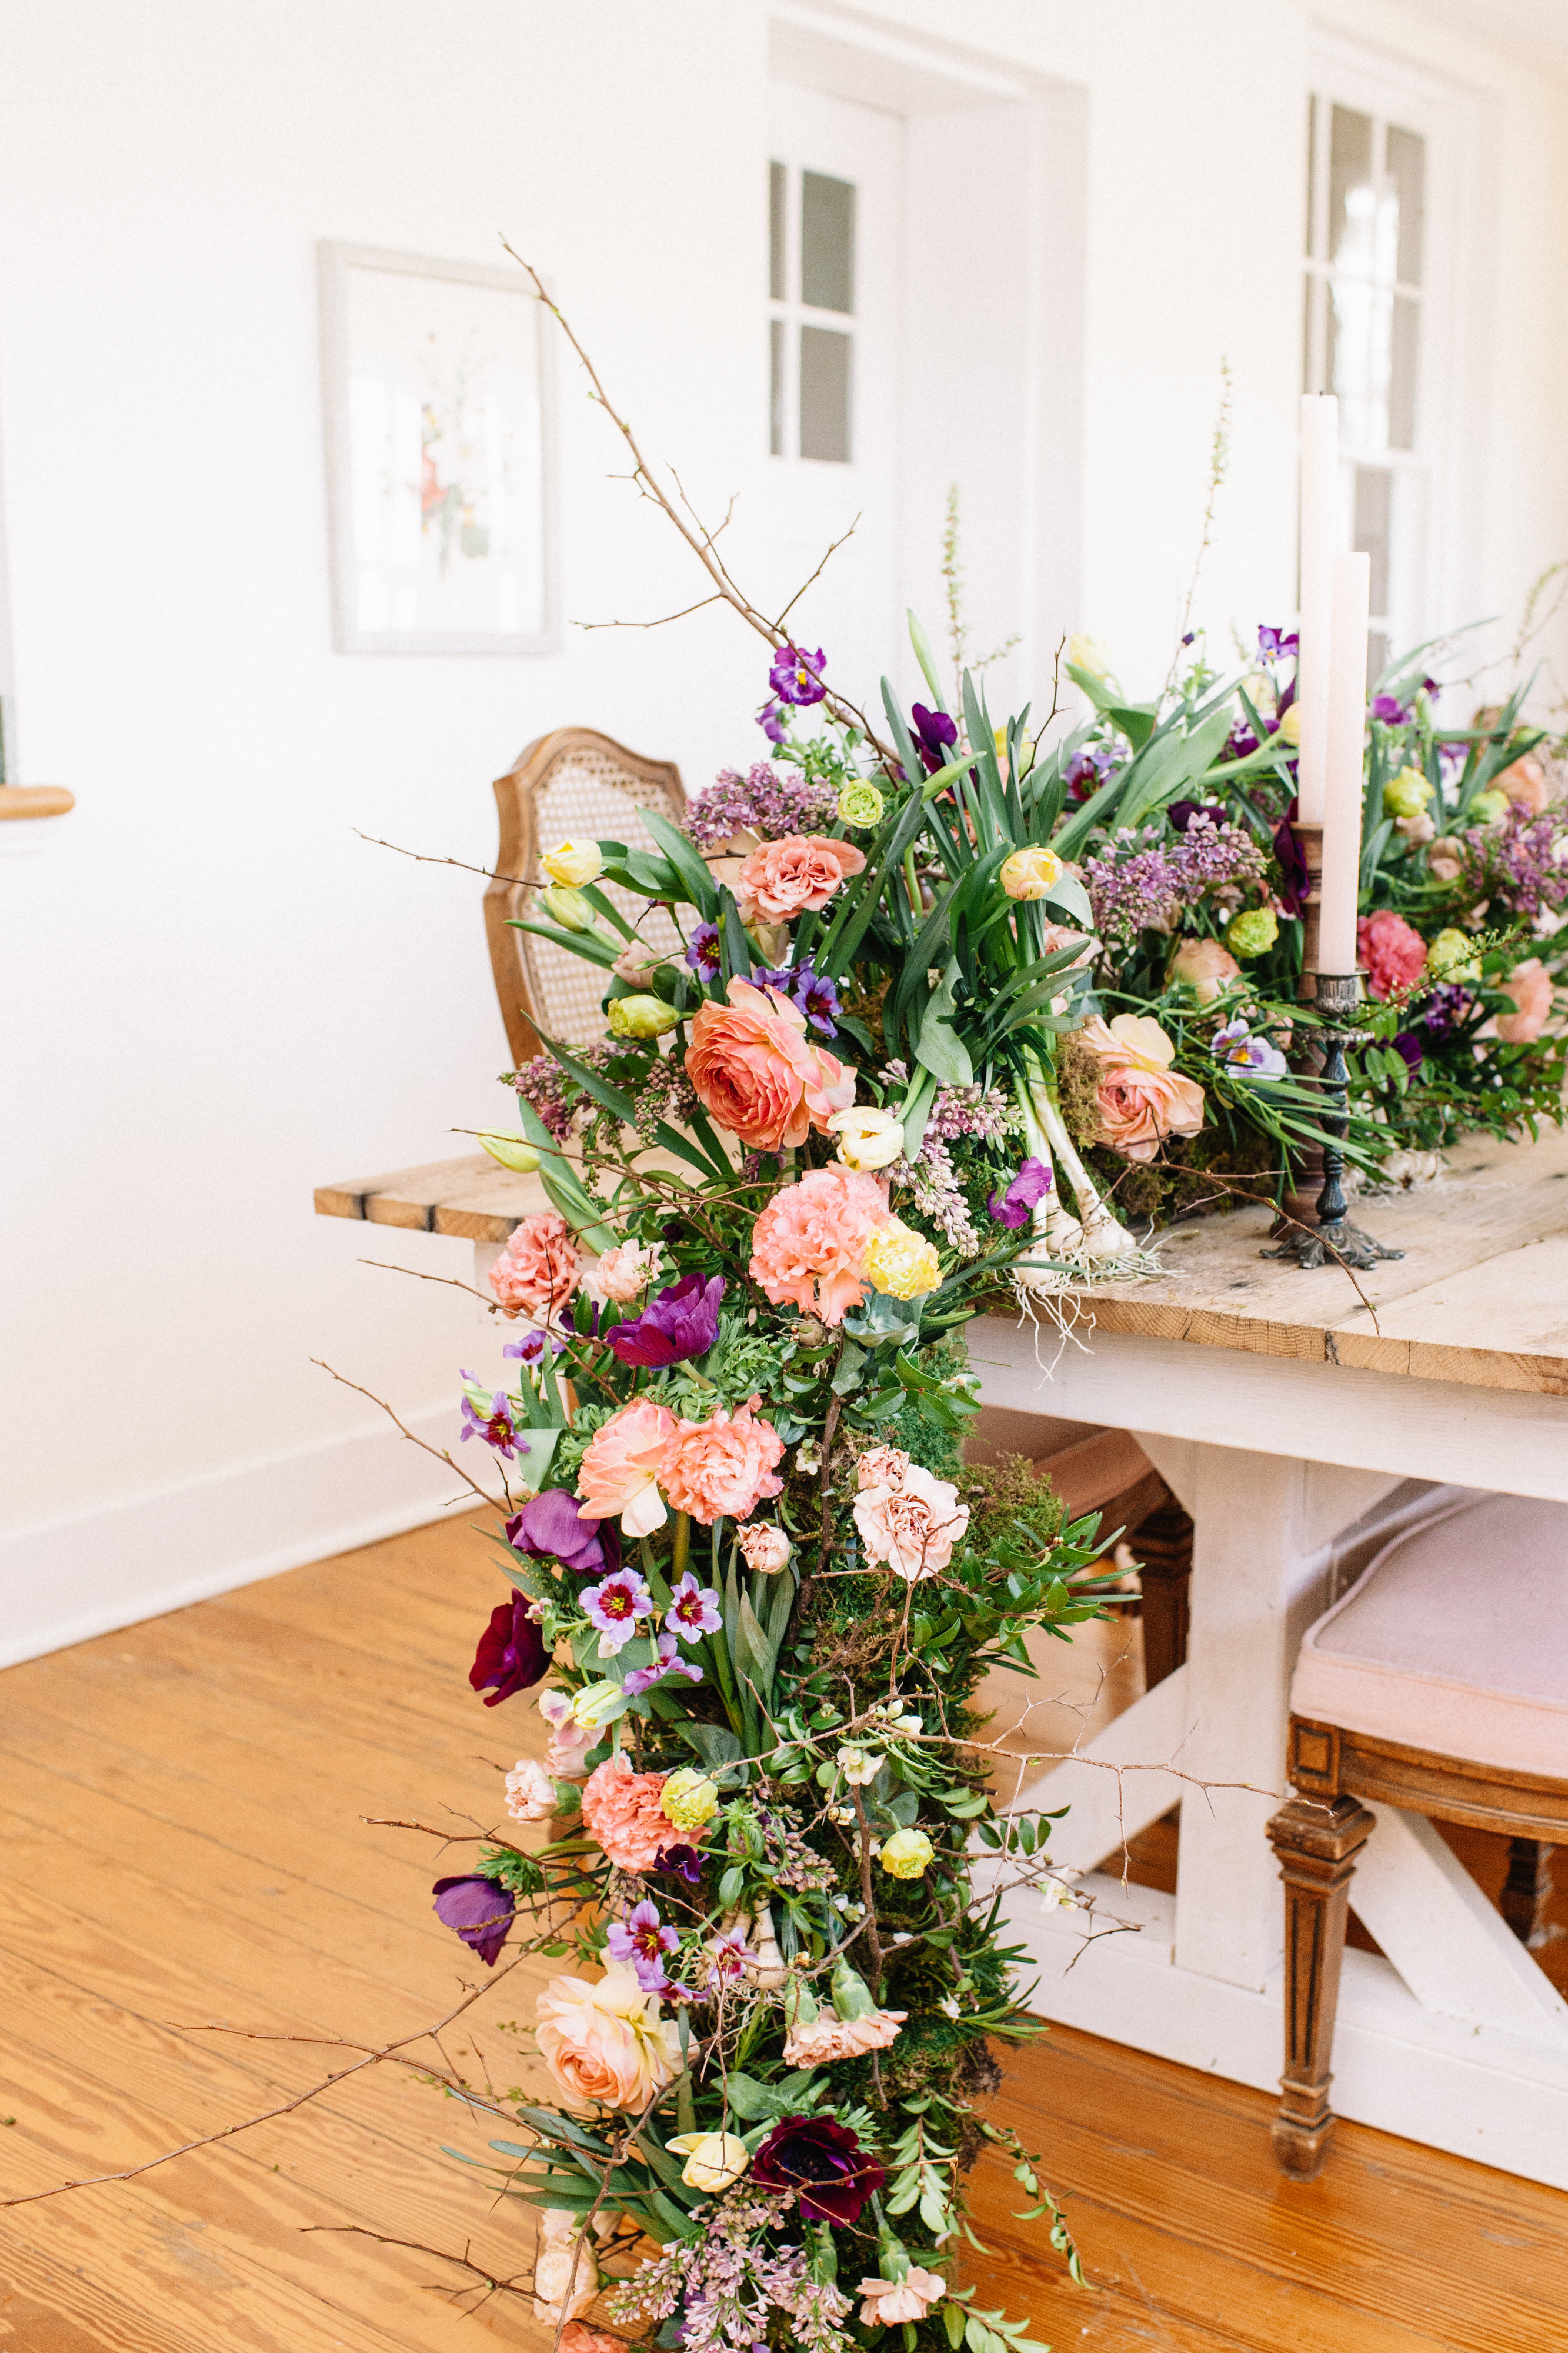
This “How To” was featured in the May issue of Florists Review. It is one of my favorite designs to create and the mechanics behind this design are an essential part of the intell at our studio. You will need at least 2- 2×6 boards (cut to size of table or design), poly foil, foam racquets, zip ties, clippers, wire, screws, waterproof tape, and a drill.
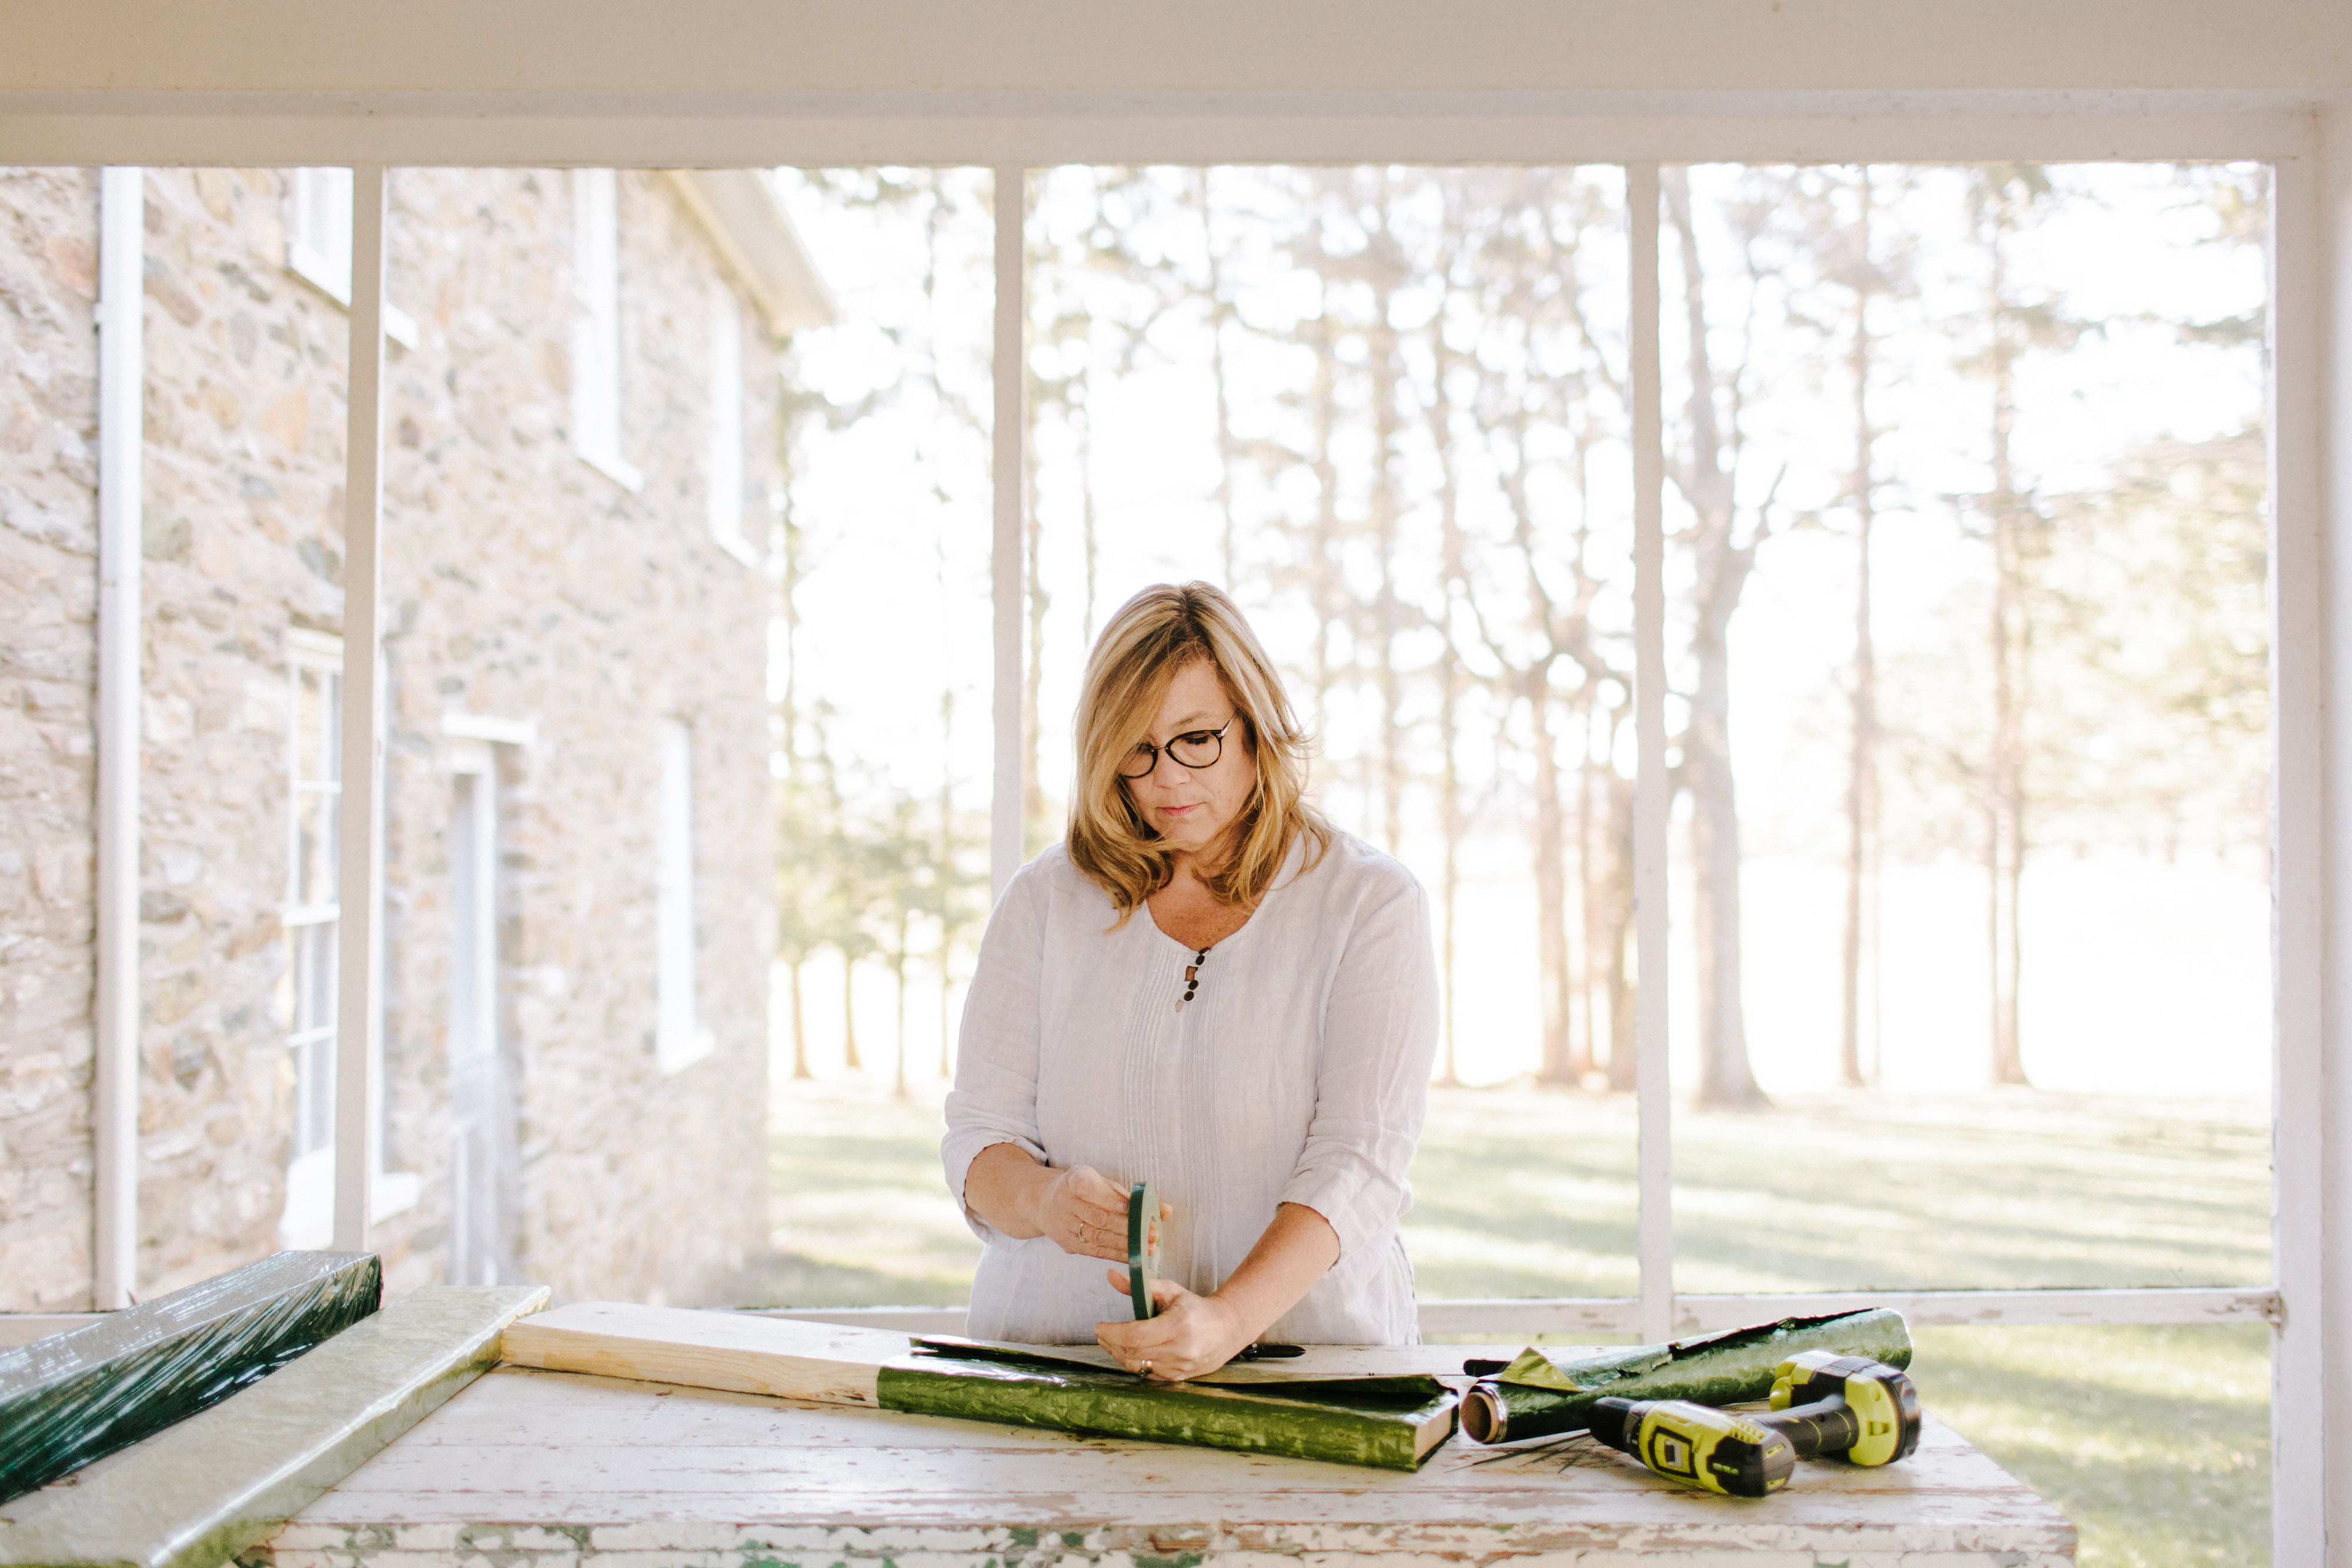
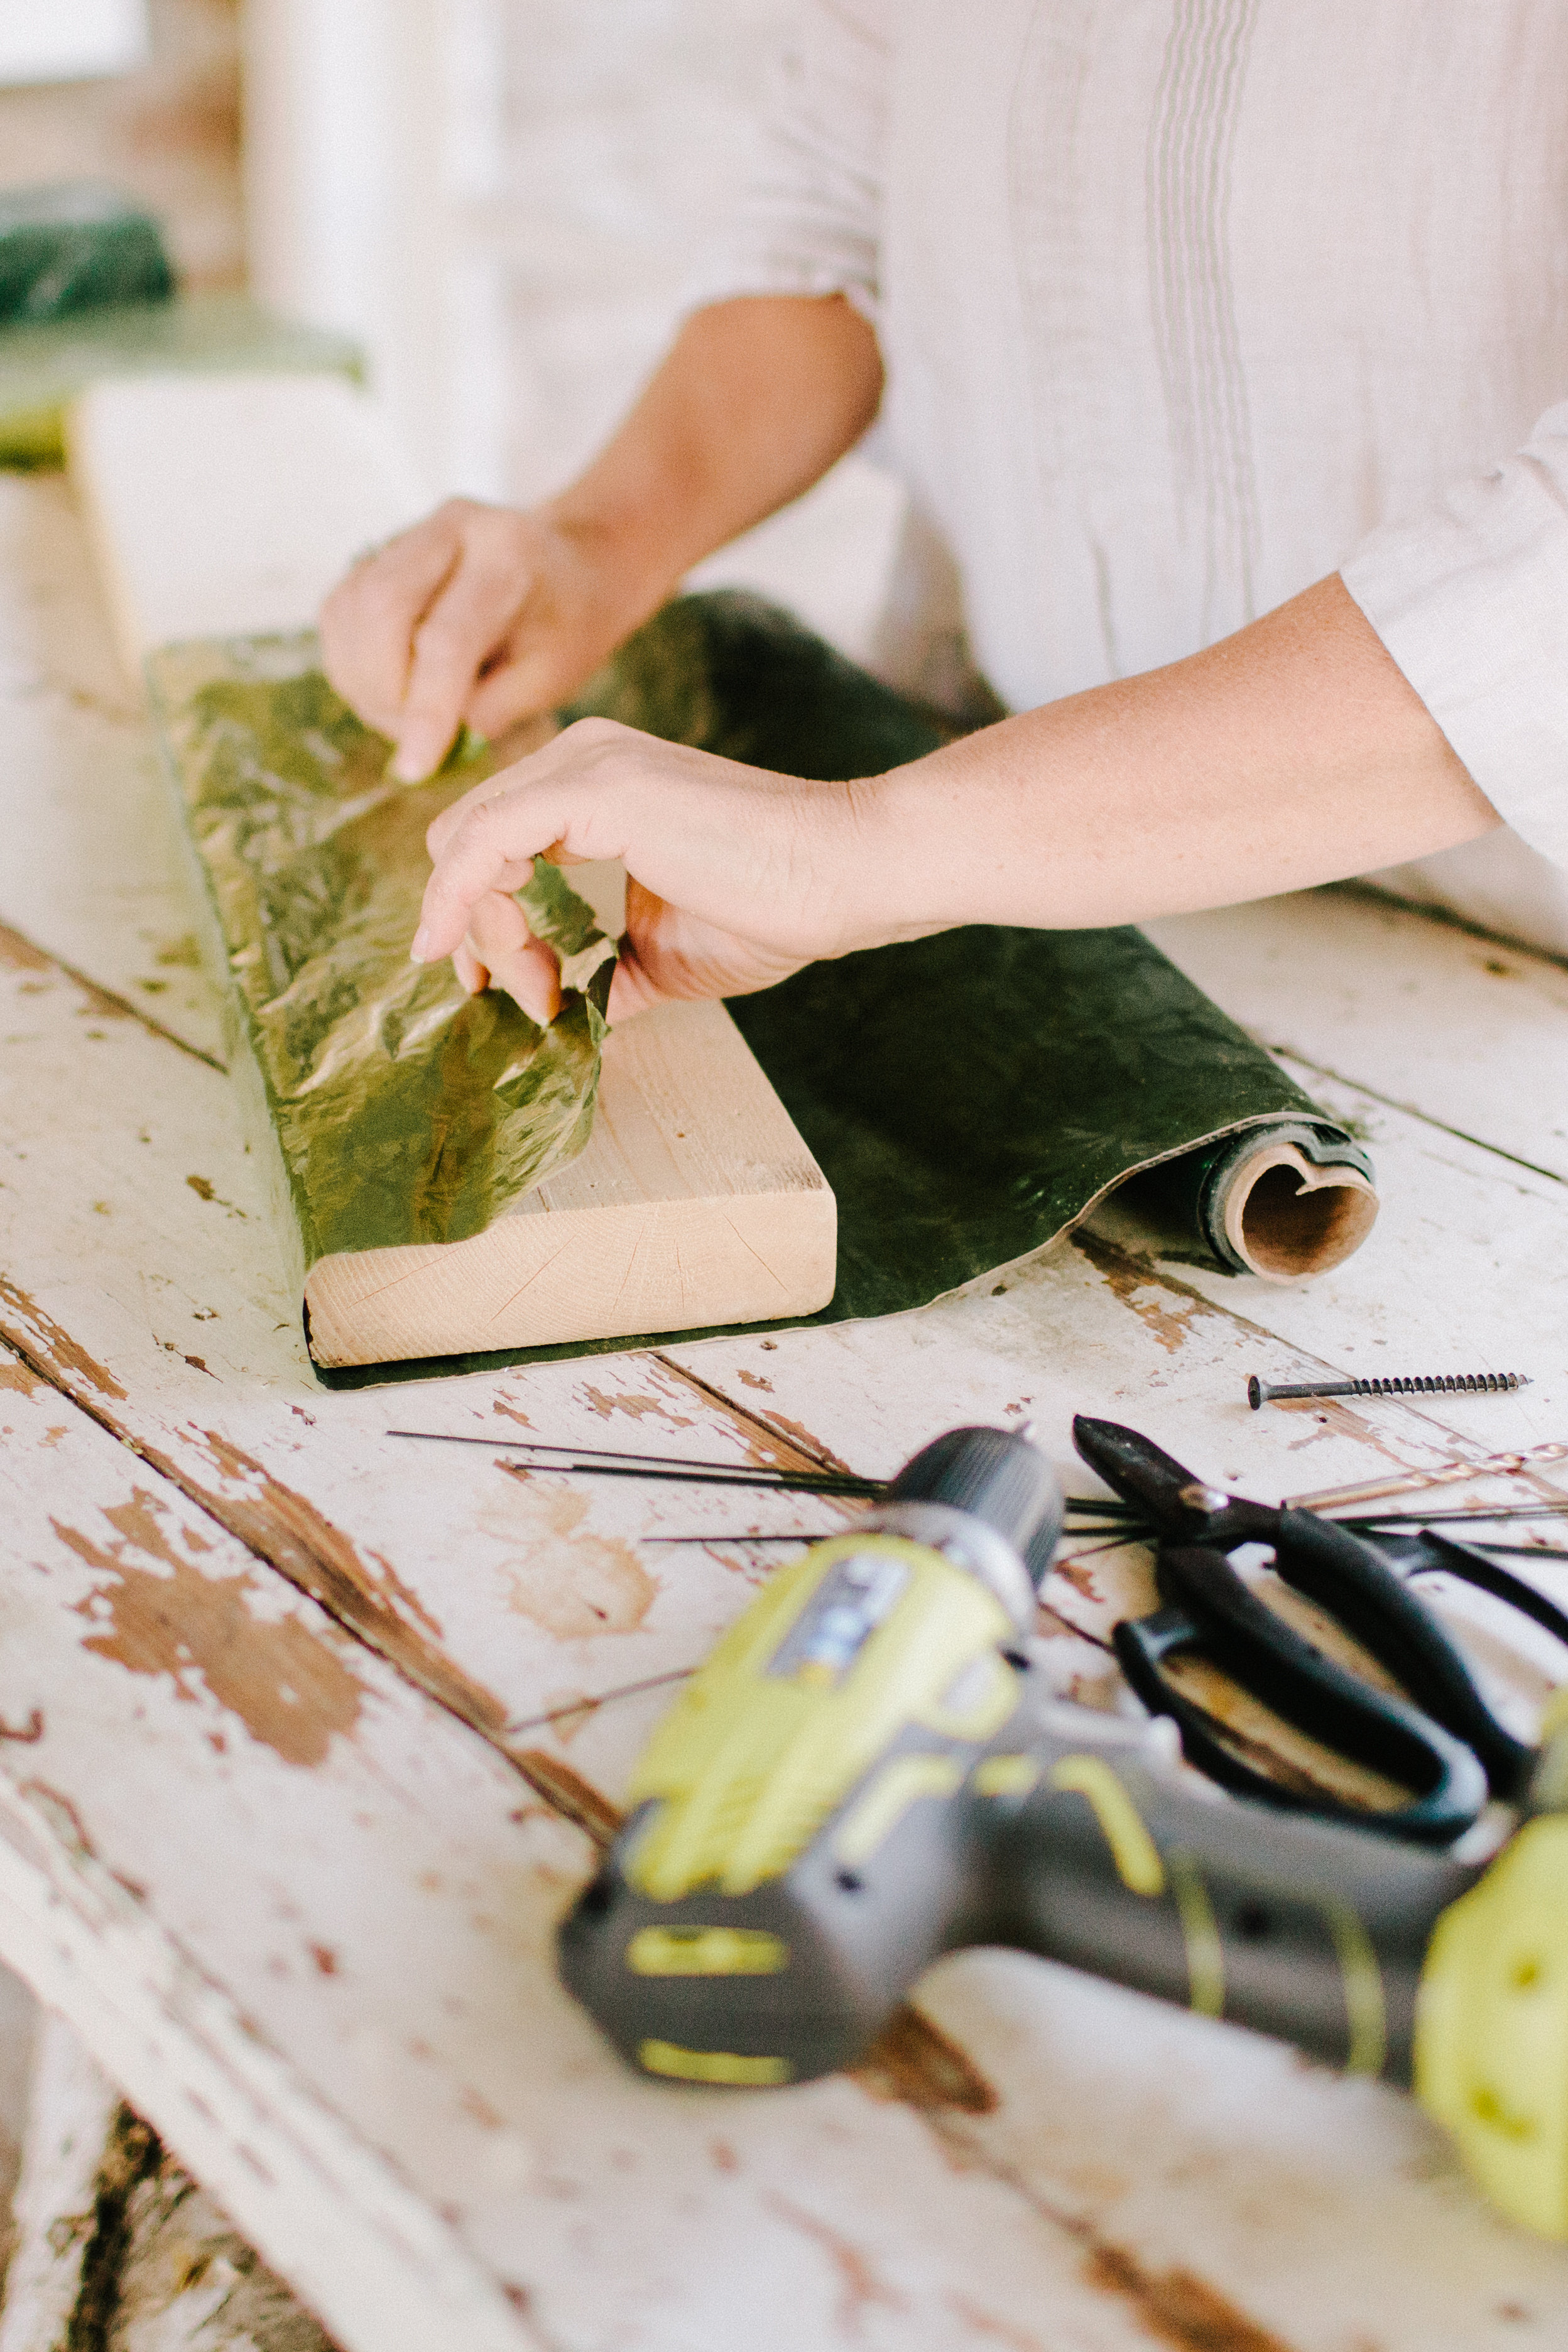
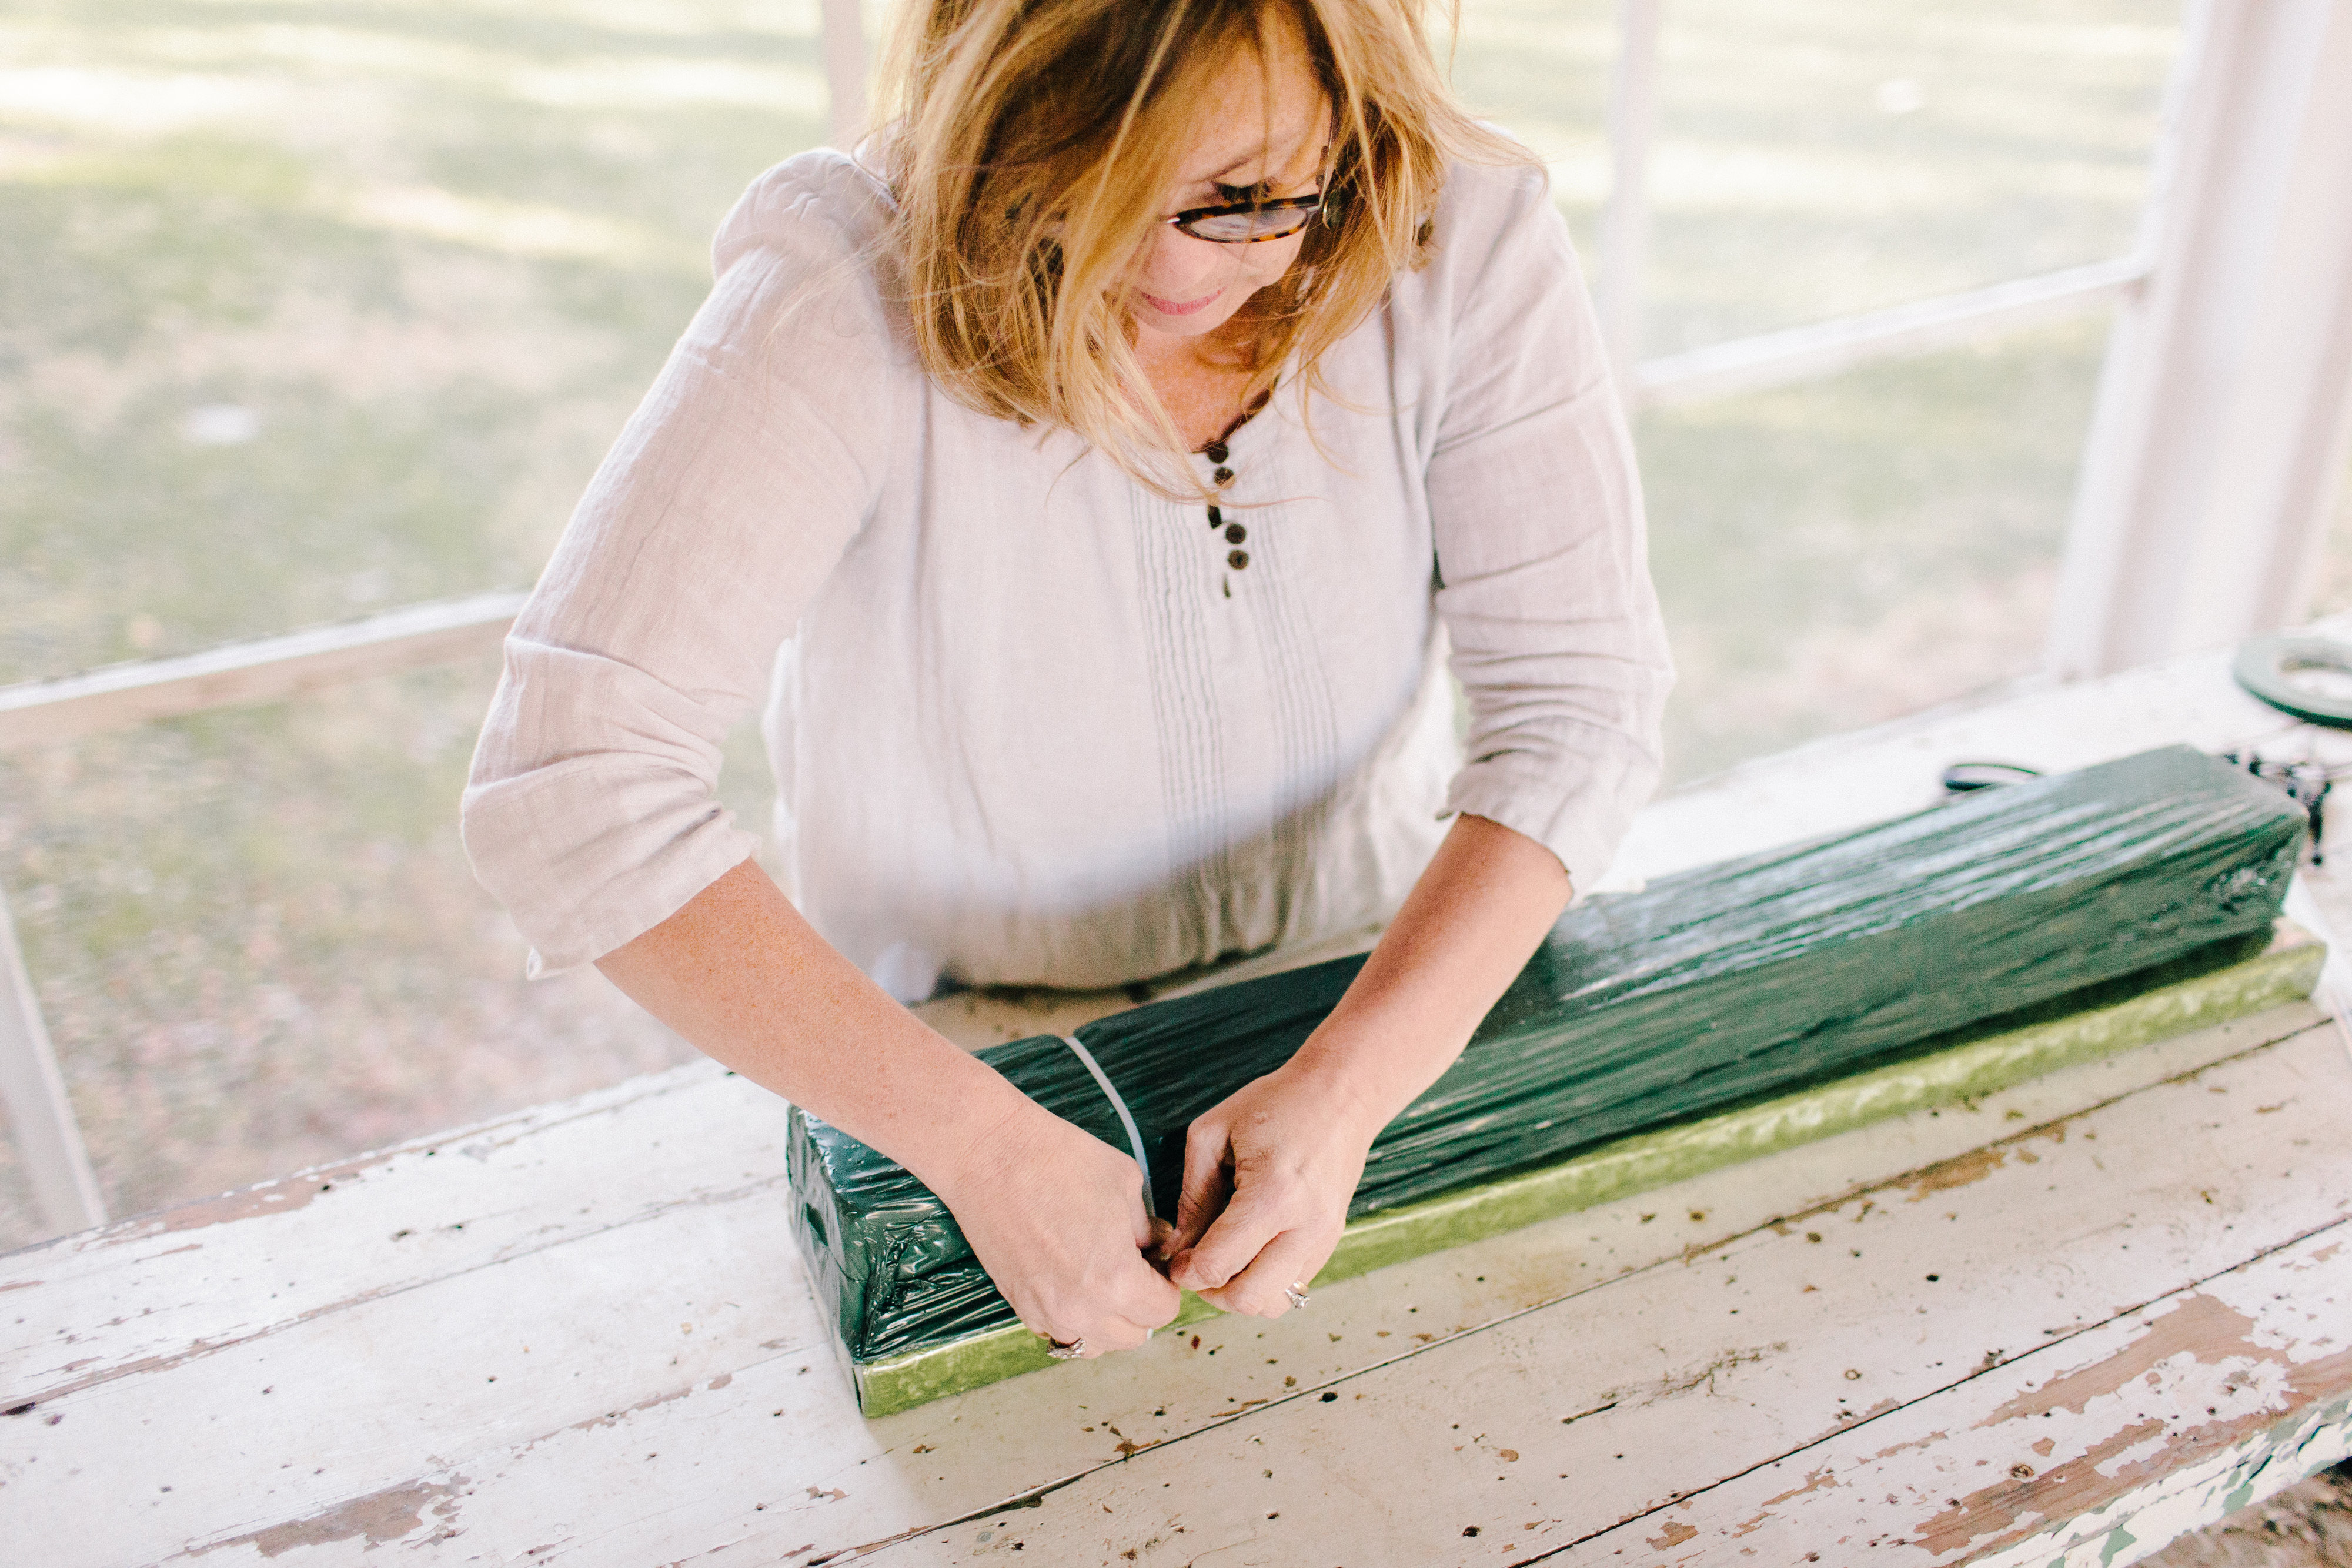
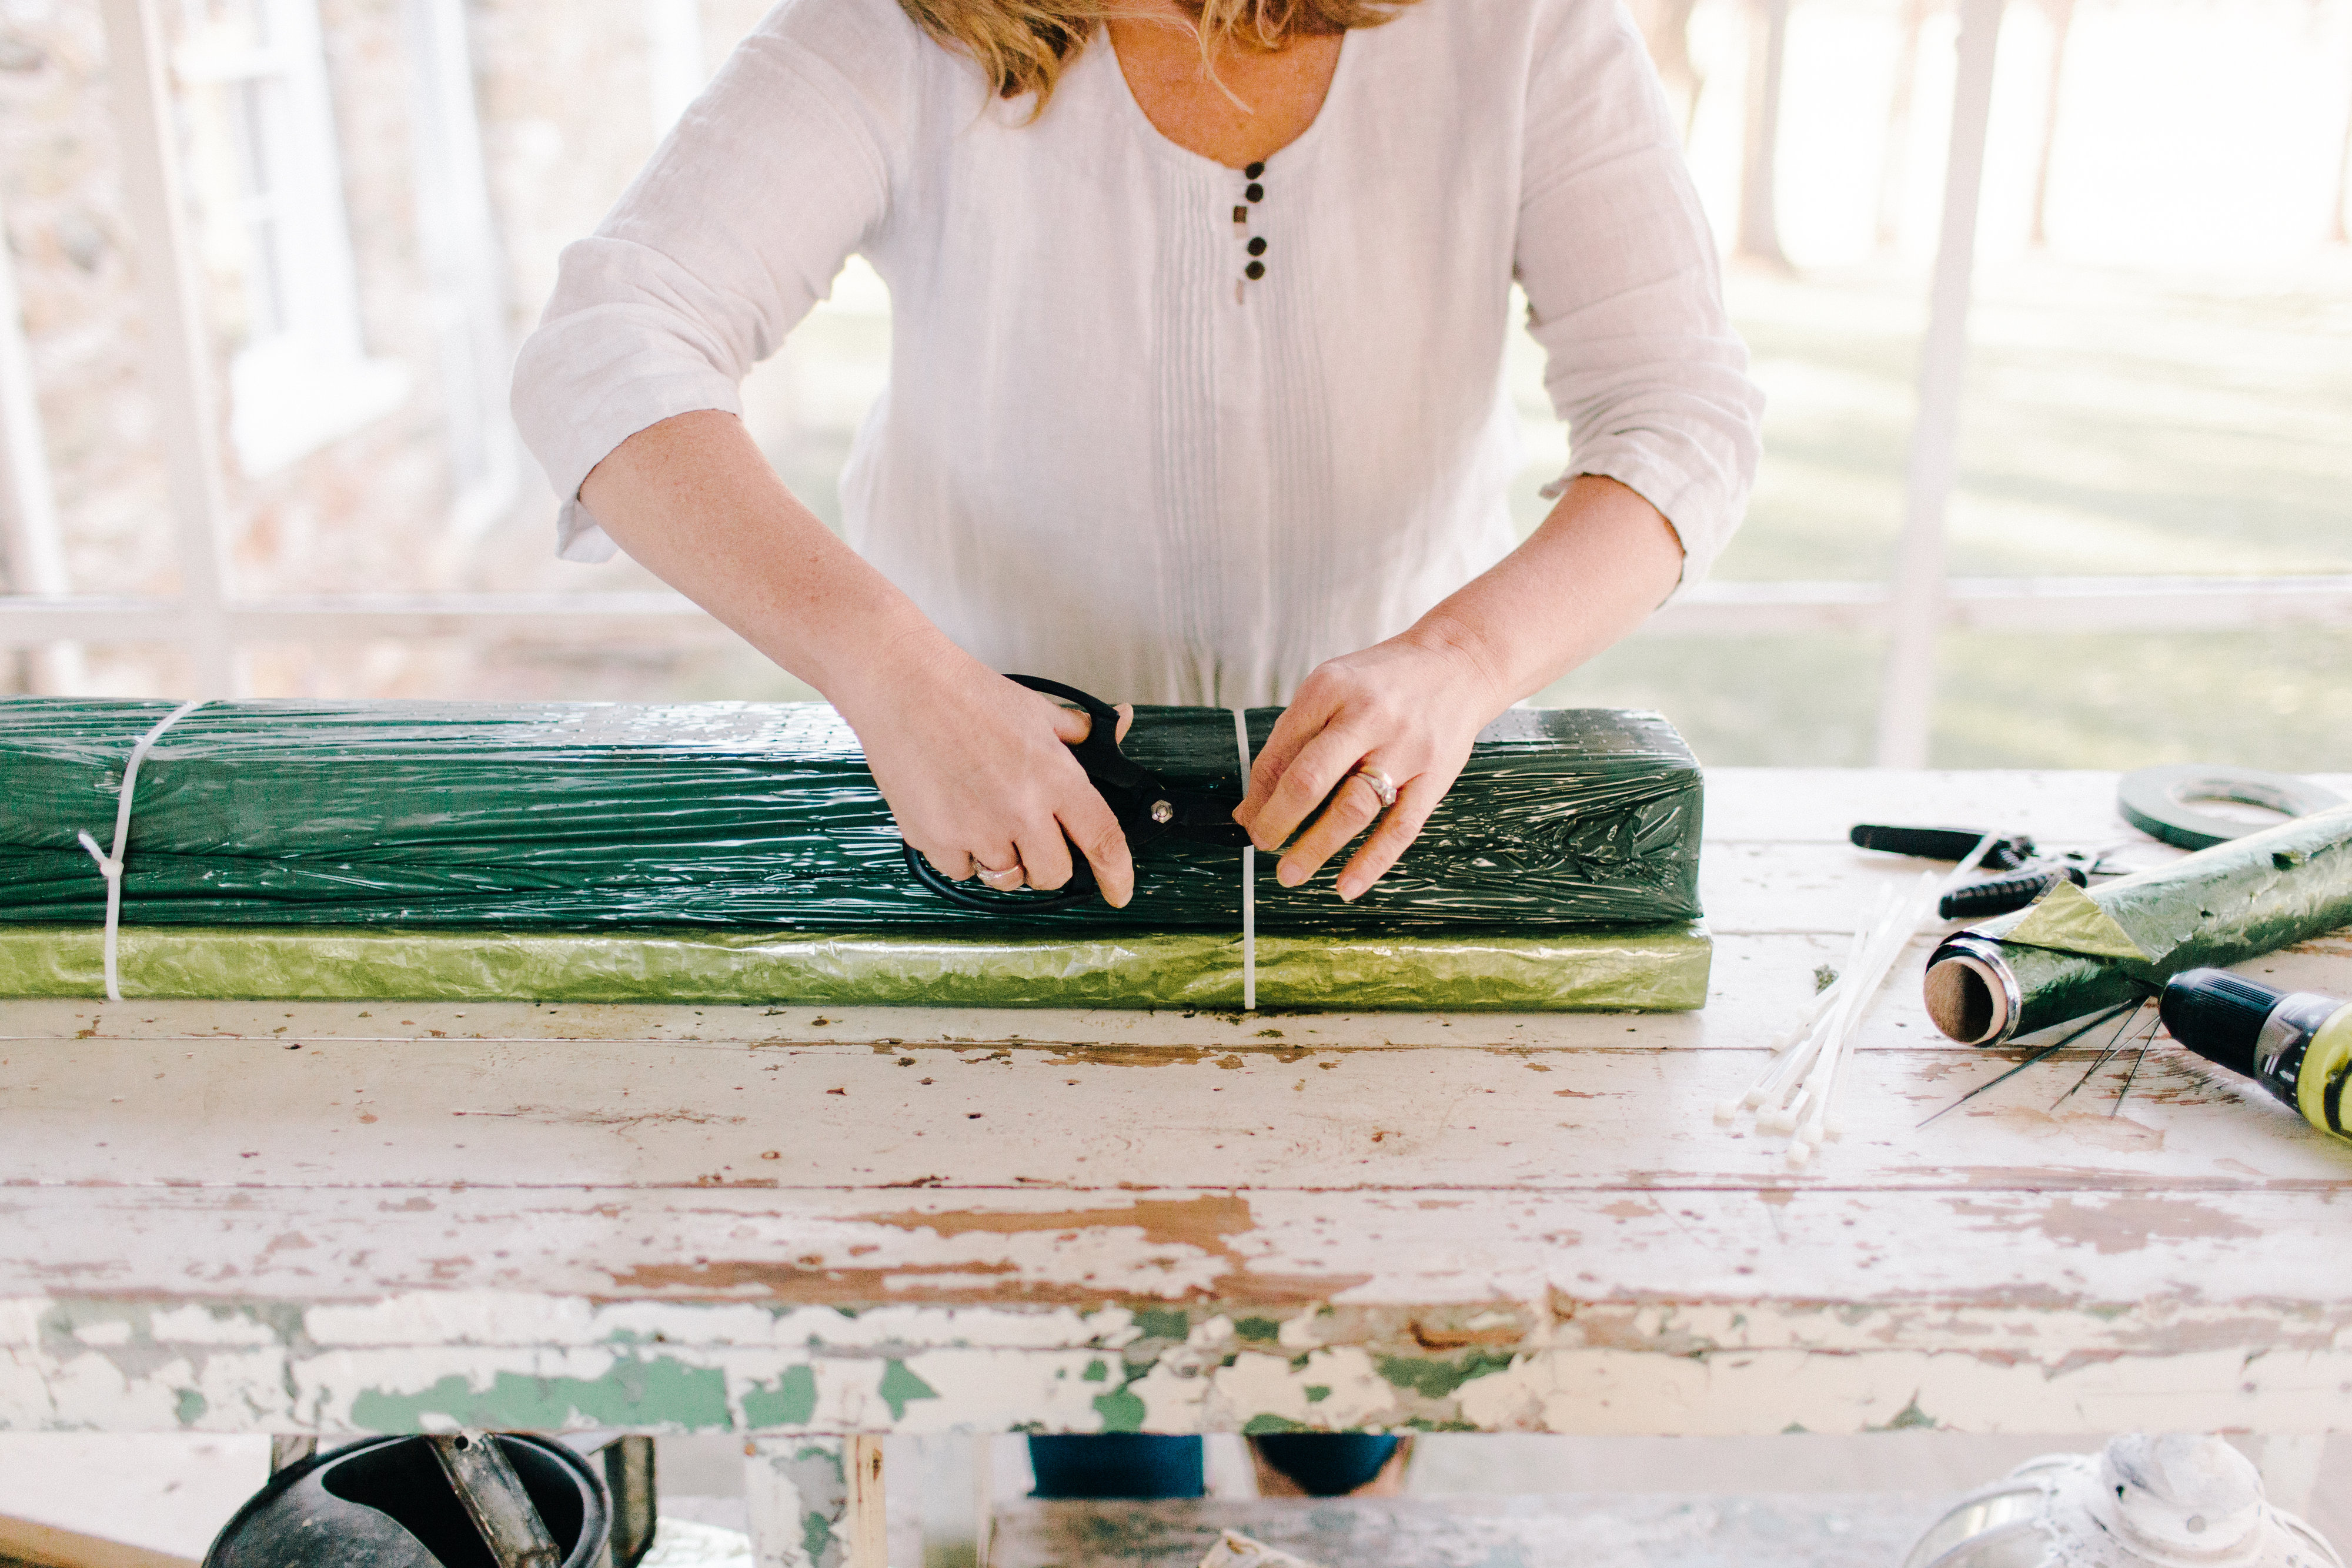
When teaching I always talk about the spine of the design or the backbone of the design. In this instance my spine is a 2×6 board. The board is used to support and connect the design. The board also adds weight to the design. It’s essential that I wrap the board with poly foil (foil that is lined with a plastic lining) because I want to the keep the board dry and clean. If I do not wrap the board in a plastic wrap, the board will get very wet and dirty. A wet and dirty board dropped on fine linens is a huge NO NO. The poly foil allows me the opportunity to dry and clean the bottom of the board. I use waterproof tape to secure the foil onto the board.
Once the board is prepped and wrapped I zip tie on the soaked foam racquets. By this point you should have also measured the height of your table and also decided the length of your design. This will tell you what length you will need to cut your boards. You need boards that are the length of the design and also the upright portion of the design. For comfort sake I typically don’t do boards longer then five foot. So, if I needed to make a ten foot long design, I would prefer to use two five foot boards, rather then one ten foot long board. This helps with shipping and carrying. On a few occasions I have dared to do a whole 8 foot long board but we definitely had a huge strong team working on those events. Also realize that you can extend a few feet on each end of the board so it’s rather easy to make 7 feet of design on a five foot board.
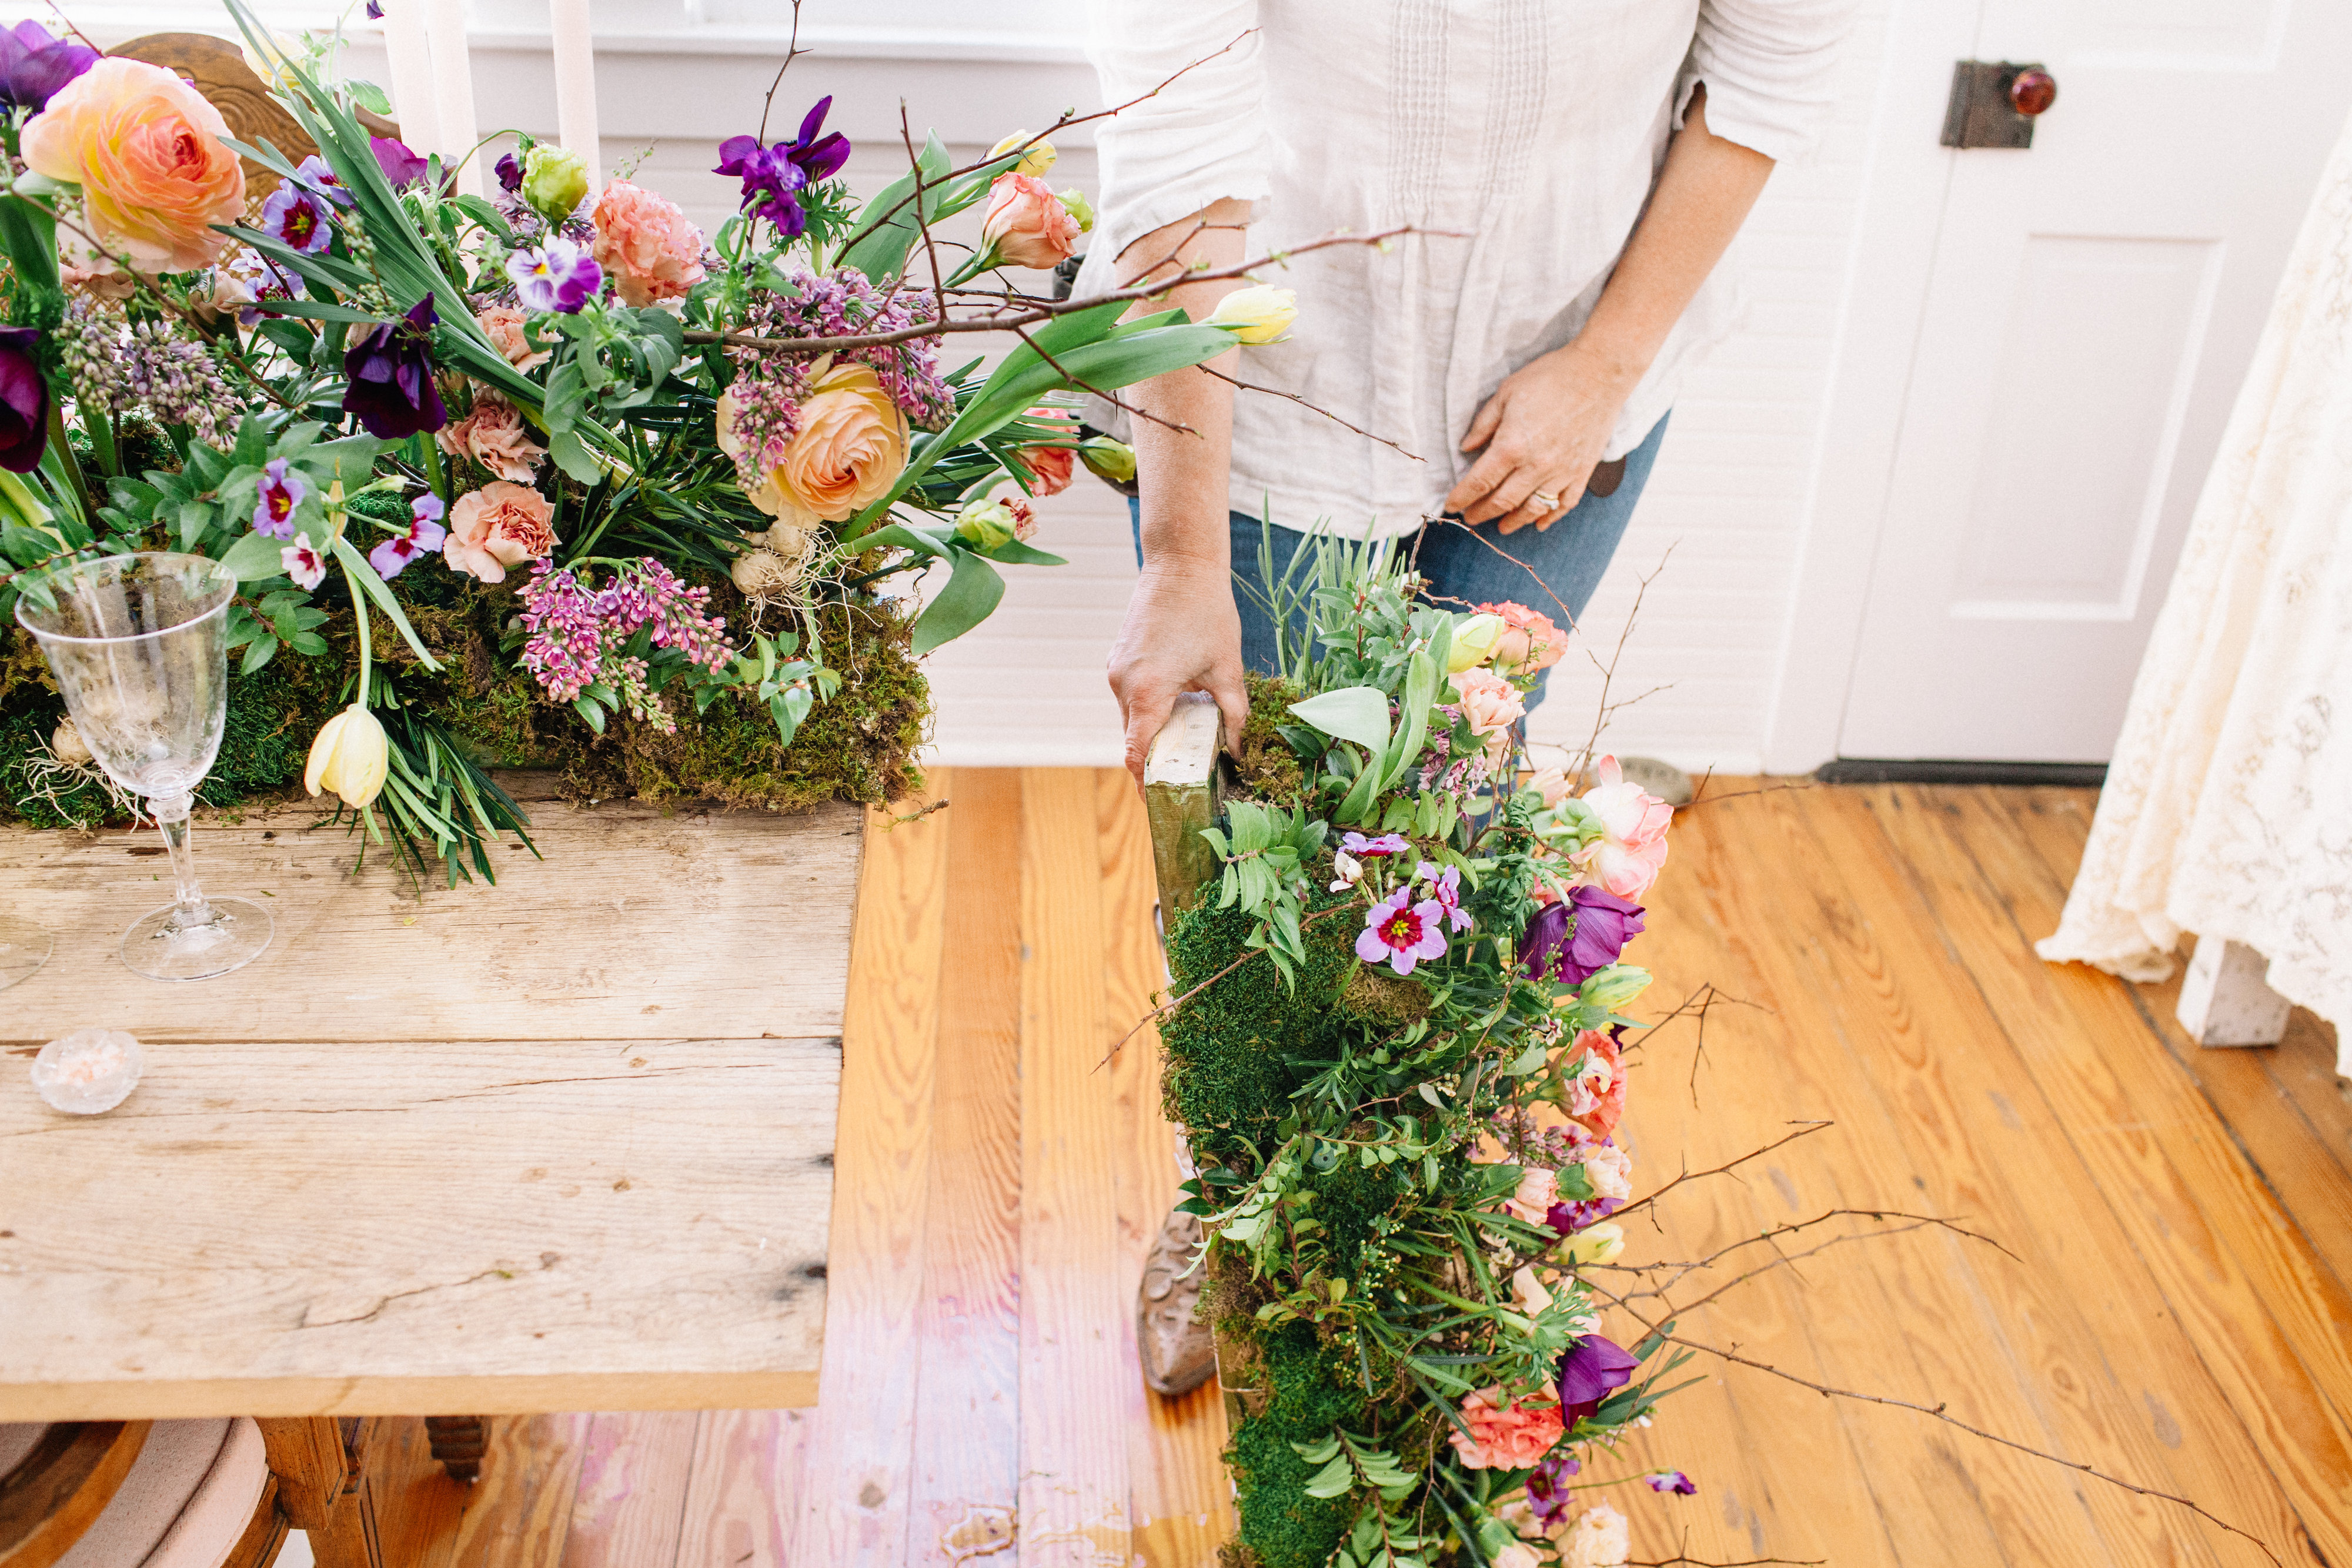
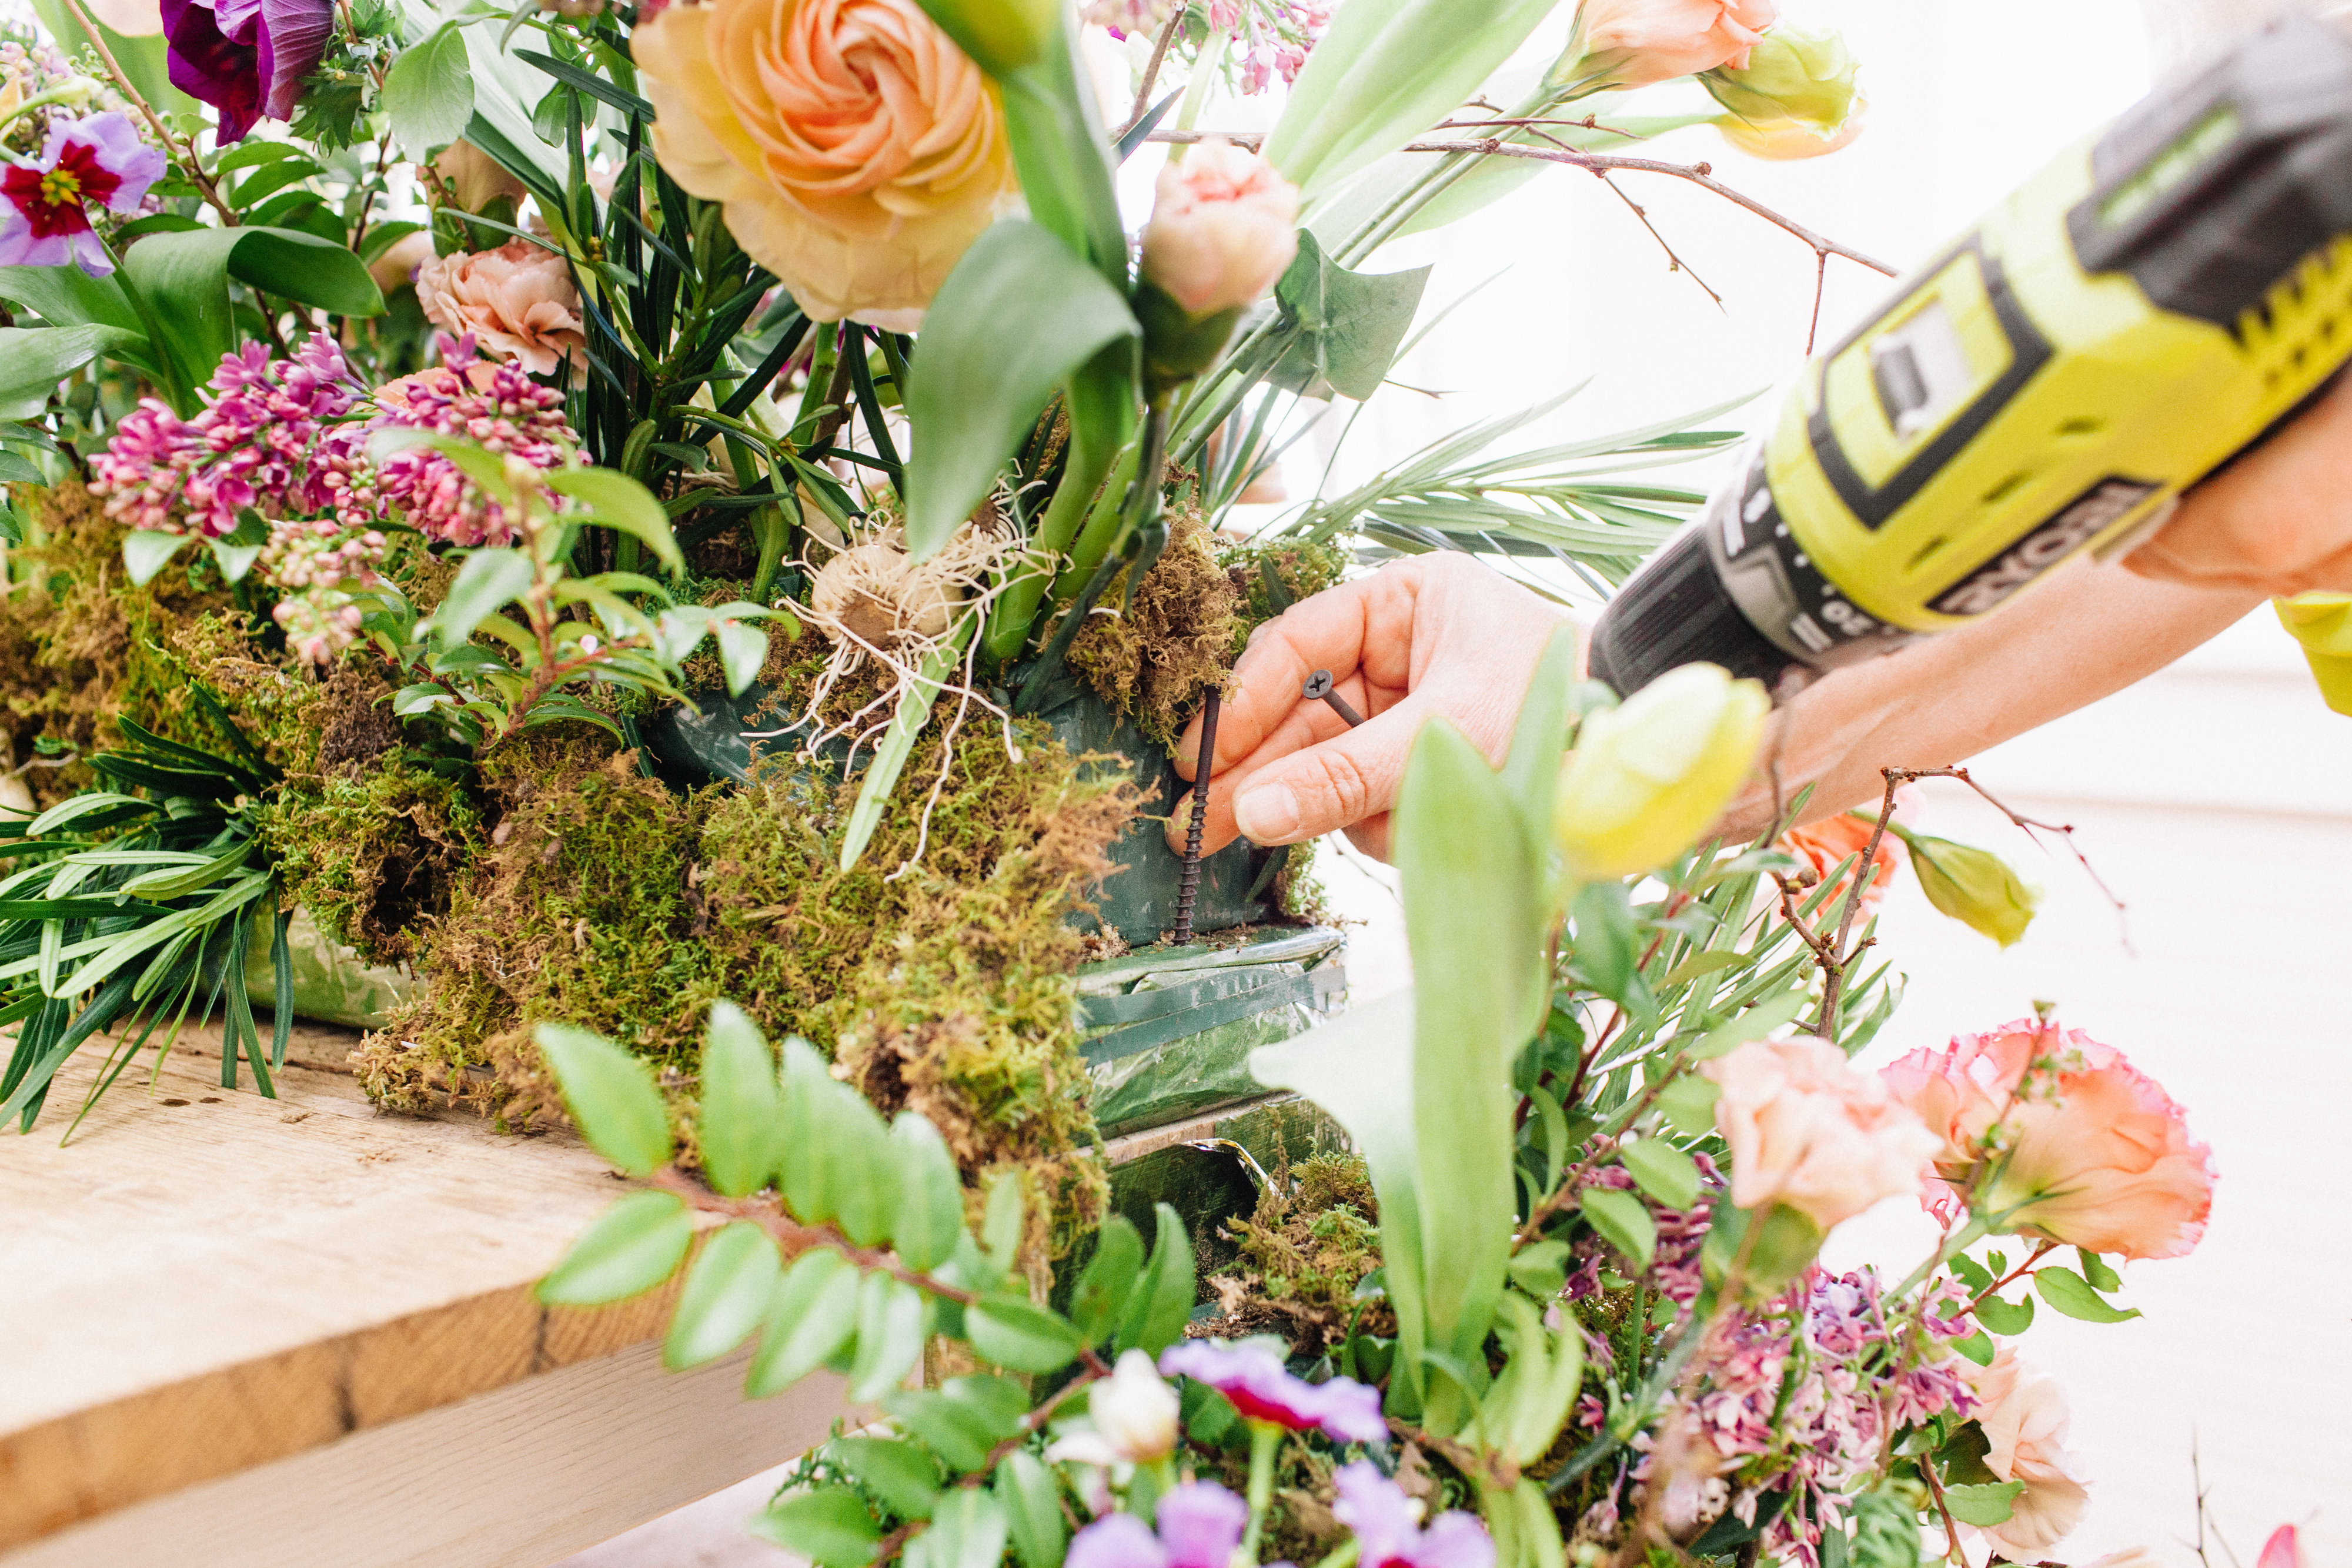
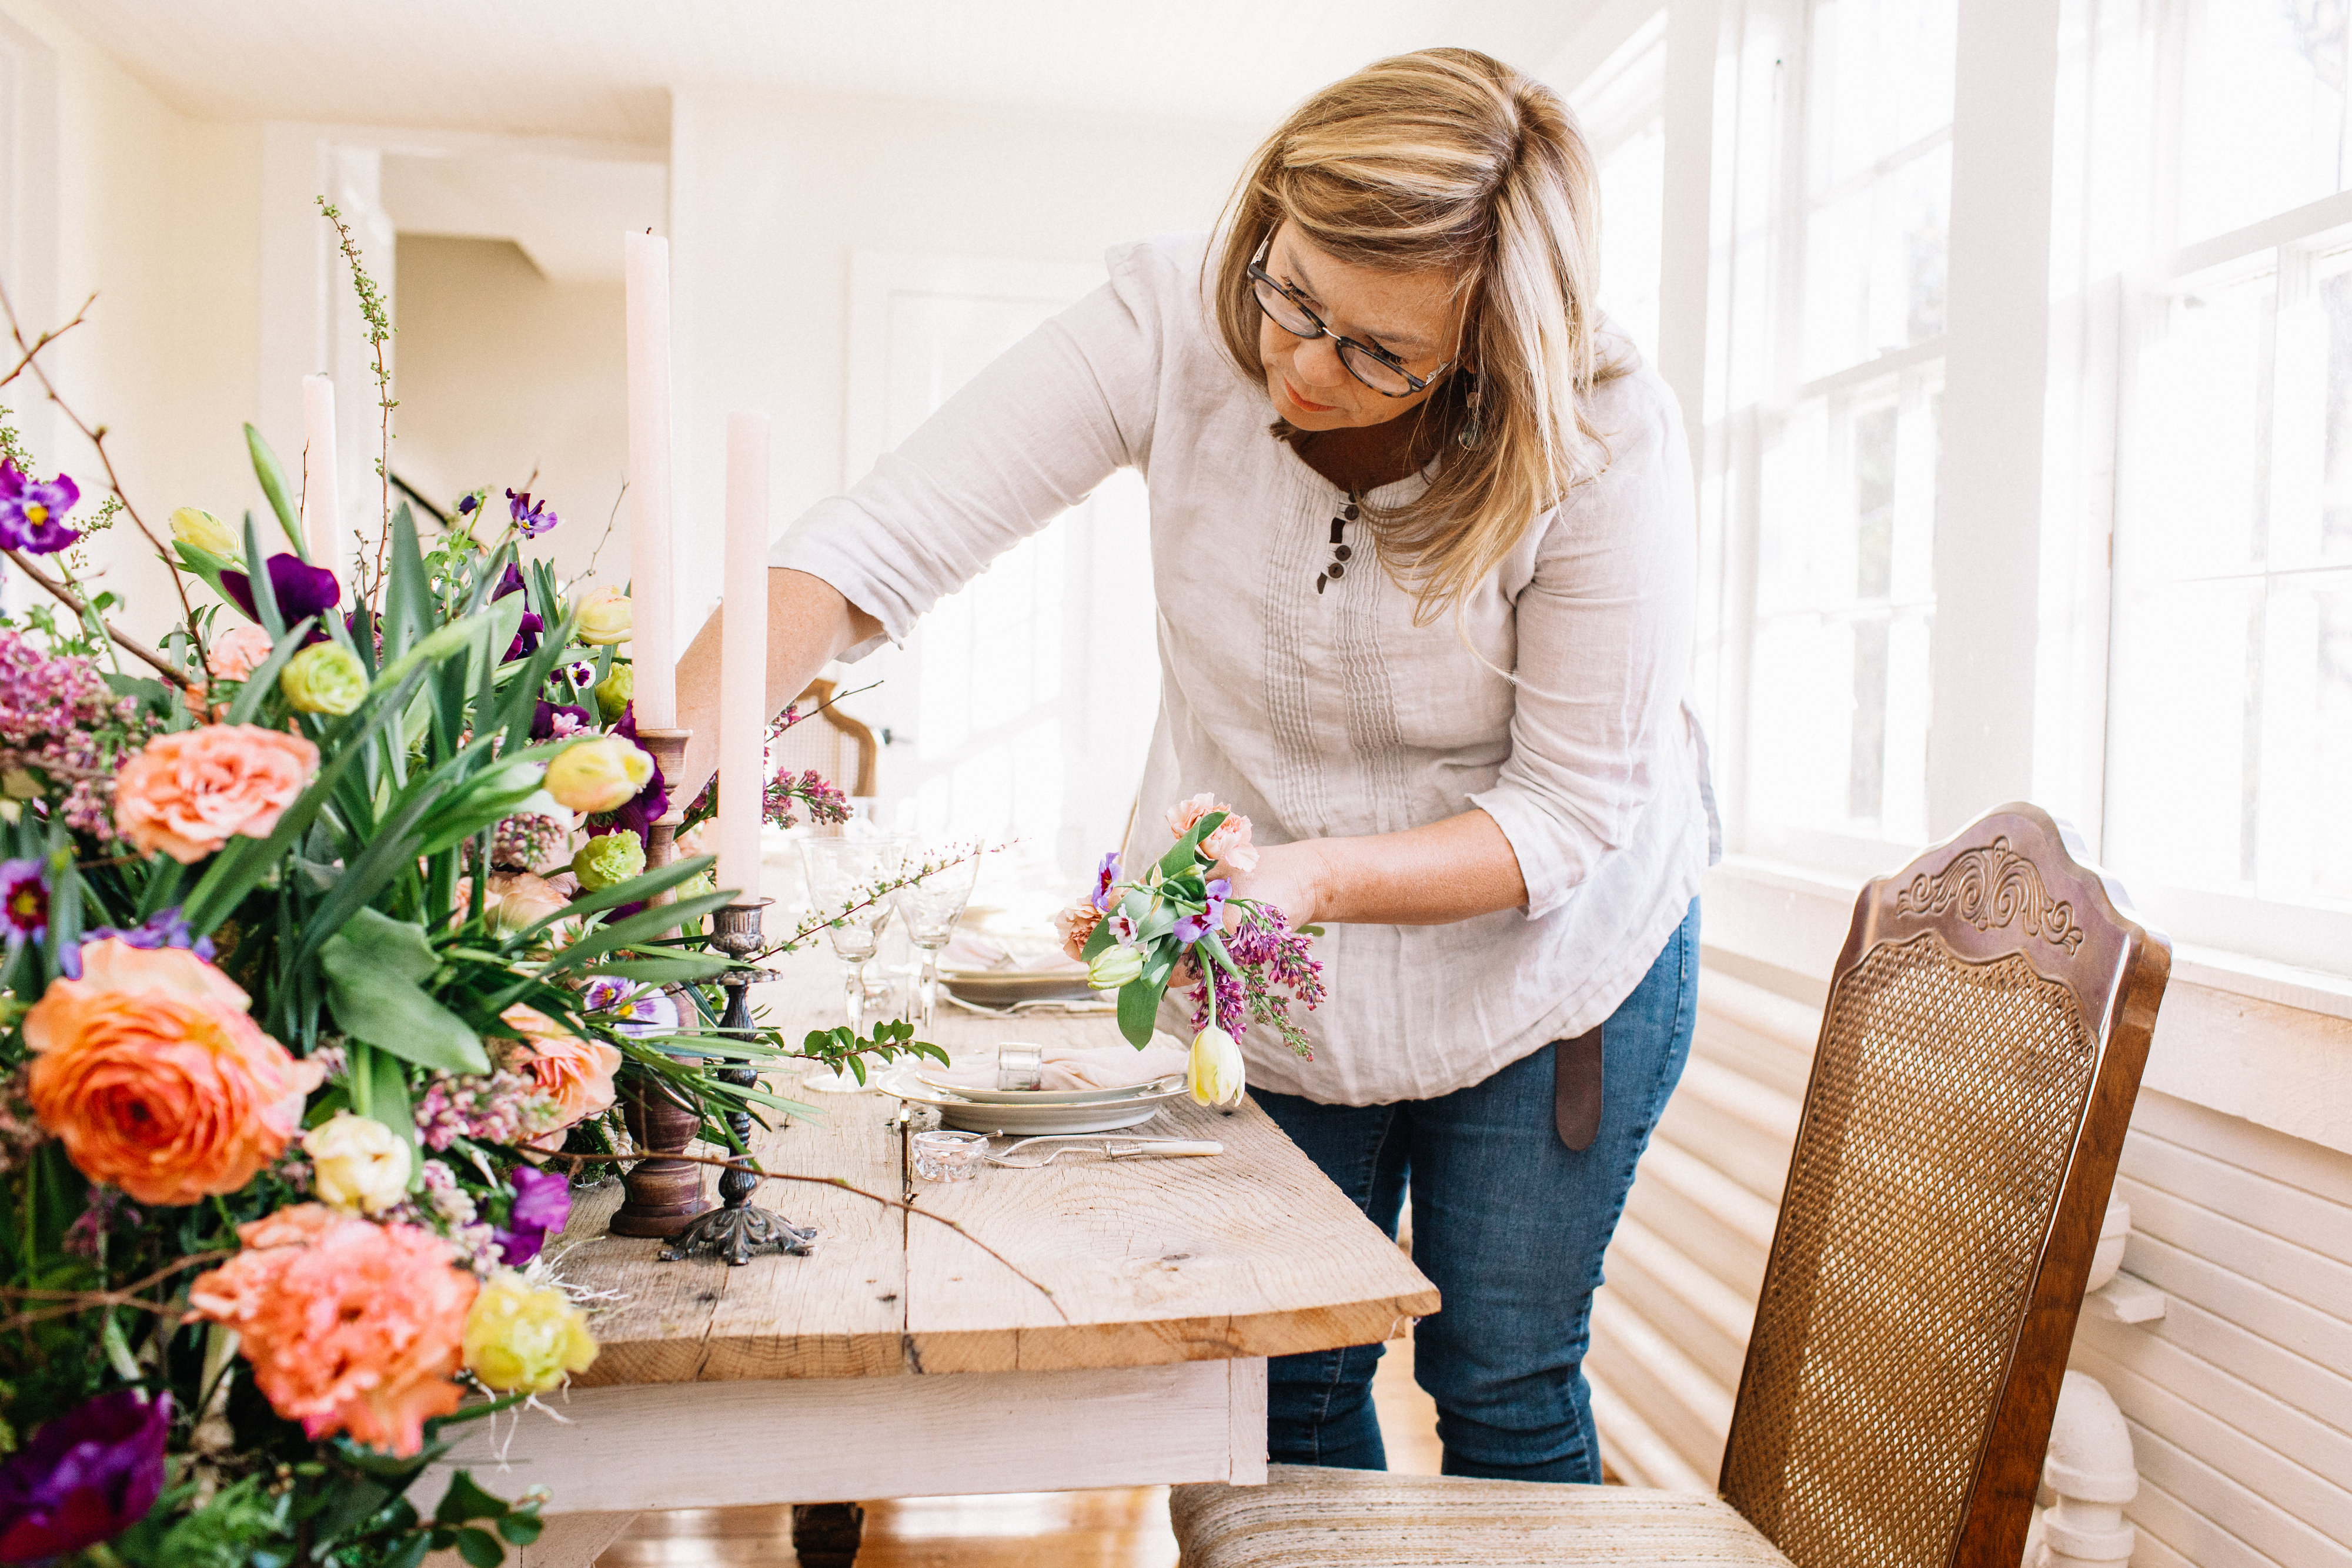
Once my boards are prepped I begin designing for the table. Always consider the height of the design and ensure that guests can see over the design. Leave the end of your upright board and your table centerpiece board open and not designed because you will be screwing the design together. Another helpful tip is to lean the upright board against a wall when you are finished designing this piece, this will give the excess water an opportunity to drain away before you get to the table. In addition we often set up a lomey tray under the upright board to catch any additional water that will drip from the design as I do my final insertions.
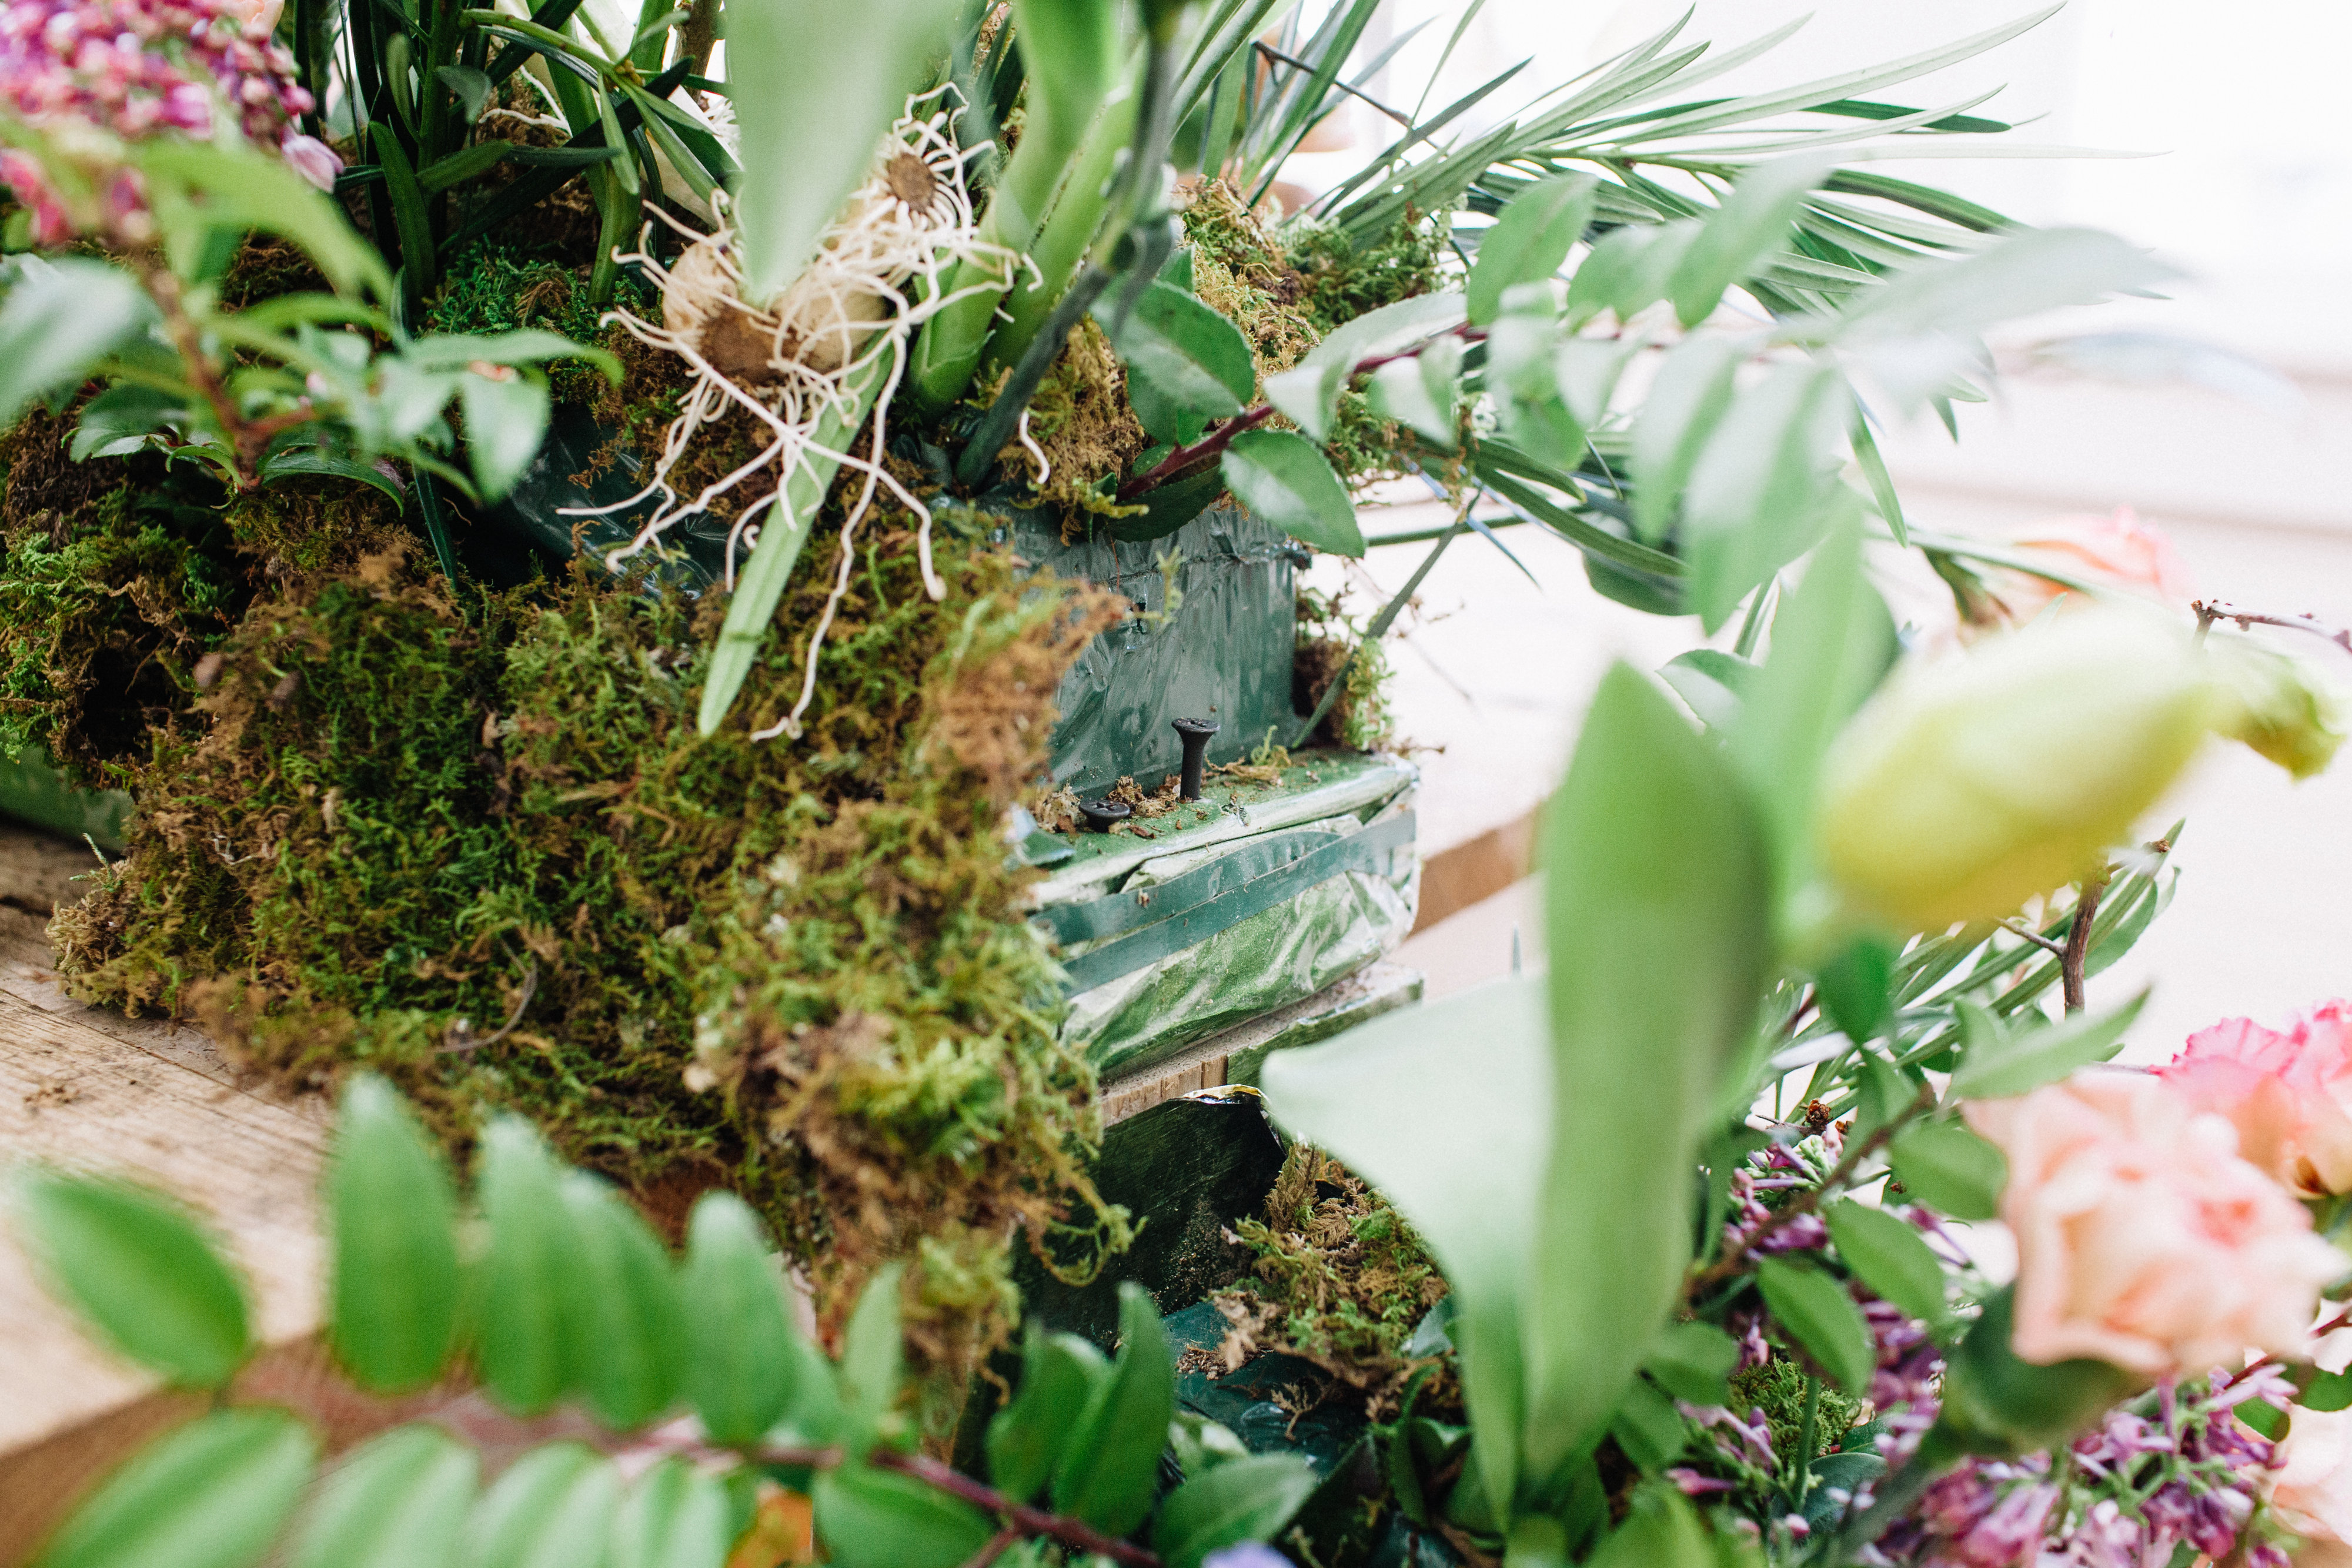
Preset your screw so that it is easier to make the connection. Obviously the board running length ways across the table needs to extend beyond the table so that you can get your upright board under the main design.
Once everything is connected you fill in the spaces and complete your design.
Many thanks to Emily Gude Photo who photographed this design for me at my farm, Hope Flower Farm.



No comments