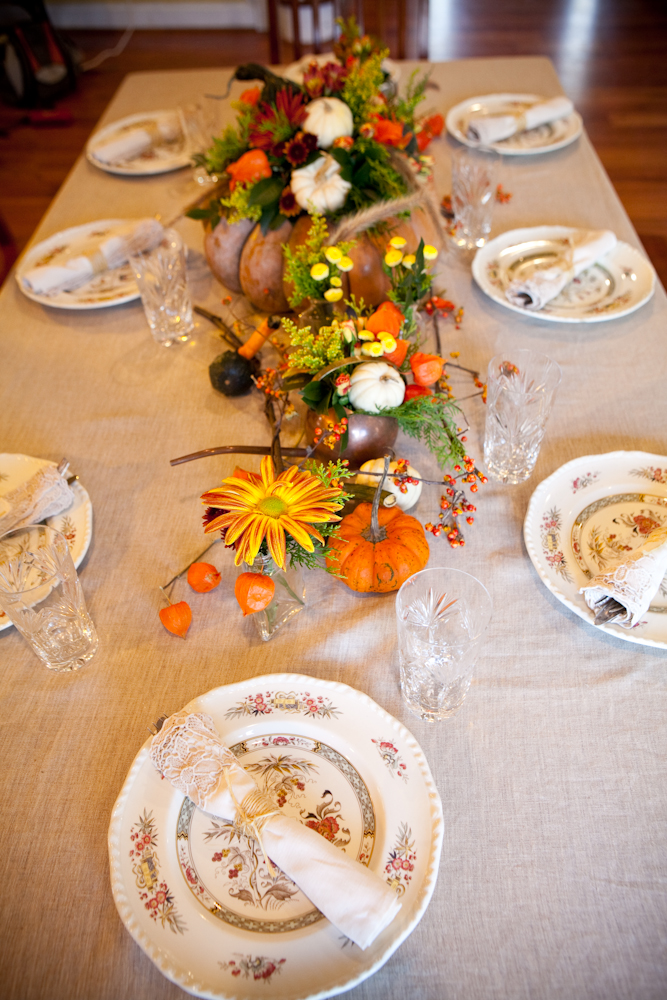
A few weeks ago I created this easy step by step centerpiece for Washingtonian. They created a fabulous slide show with a DIY tutorial and that can be seen here. Many thanks to Genevieve Leiper for these amazing photos!!
For those that prefer to scroll, here’s the step-by-step tutorial on how I created this Thanksgiving table-scape for Washingtonian.
Step 1: First you will need scissors, greening picks ( you could also use wooden skewers for grilling as well) tape, and oasis.
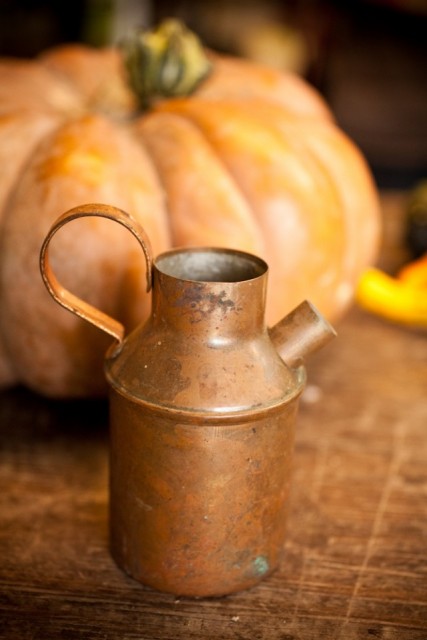
Step 2: You will need one large pumpkin with or without the stem, and a collection of bud vases or old vintage containers. These bud vases were from Michael’s. The vintage containers were found at On A Whim Antiques. I am obsessed with old copper containers right now!!
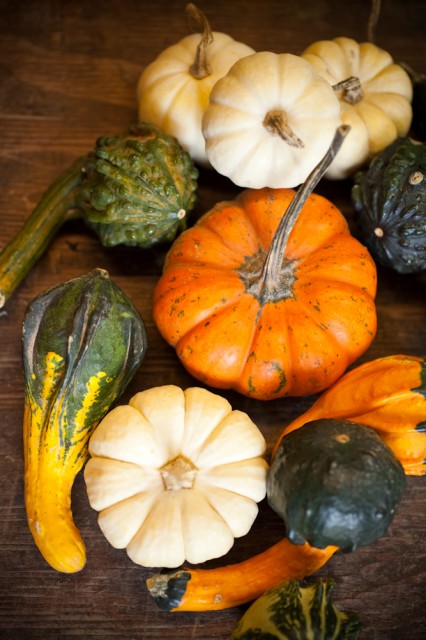
Step 3: Gather up a pile of mini pumpkins and gourds in different colors and shapes. You should be able to get pumpkins and gourds at your local farmers markets or garden centers on discount since Halloween has passed.
Step 4: Unique elements like chinese lanterns and the branch bittersweet can be found at craft stores, specialty garden centers, or flower shops. Bittersweet can even be found along the side of the road.
Step 5: Gather simple and basic fall colored flowers from the grocery store or local flower shop. This is yellow fever few but yellow mums would work perfectly.
Step 6: Spray roses are sweet and simple and can be found easily at the grocery store.
Step 7: Gather a collection of fall mums and fillers.
Step 8: Alstroemeria is sold as well in bulk at the grocery store and comes in many different colors.
Step 9: Look in your yard or your neighborhood for evergreen branches or clippings from bushes trees or shrubs, even fall leaves will work nicely for this project. Also, be on the look out for ornamental grasses or interesting shapes and textures.
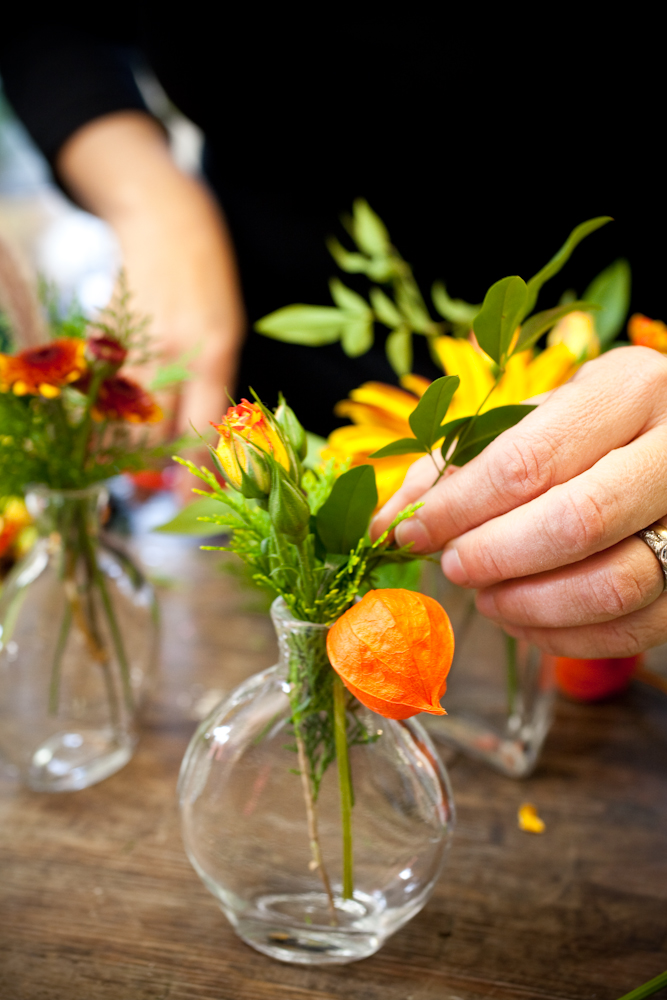
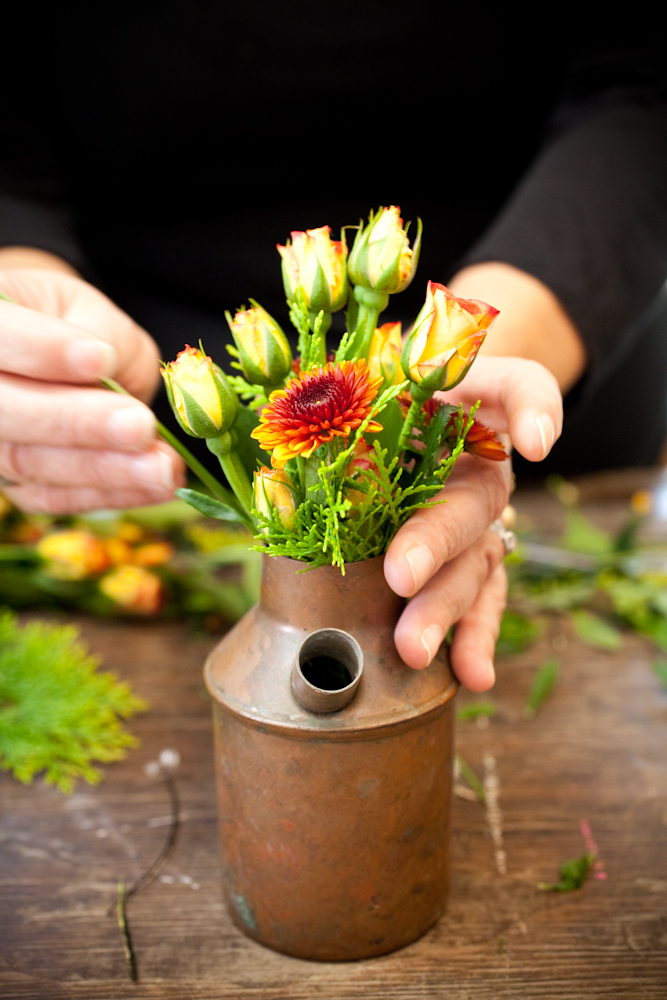
Step 10: Fill each bottle or vintage container with a simple mix of flowers. Start the design with the greens so that the piece is full and will require less flowers.
Step 11: Create each vase slightly different, this will add interest and fun to your final design.
Step 12: Put your mini designs aside.
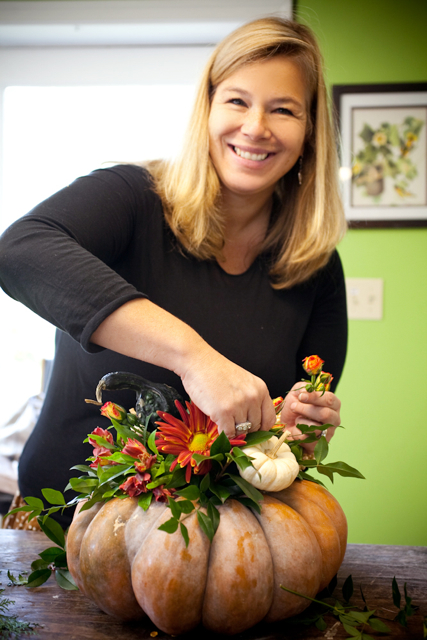
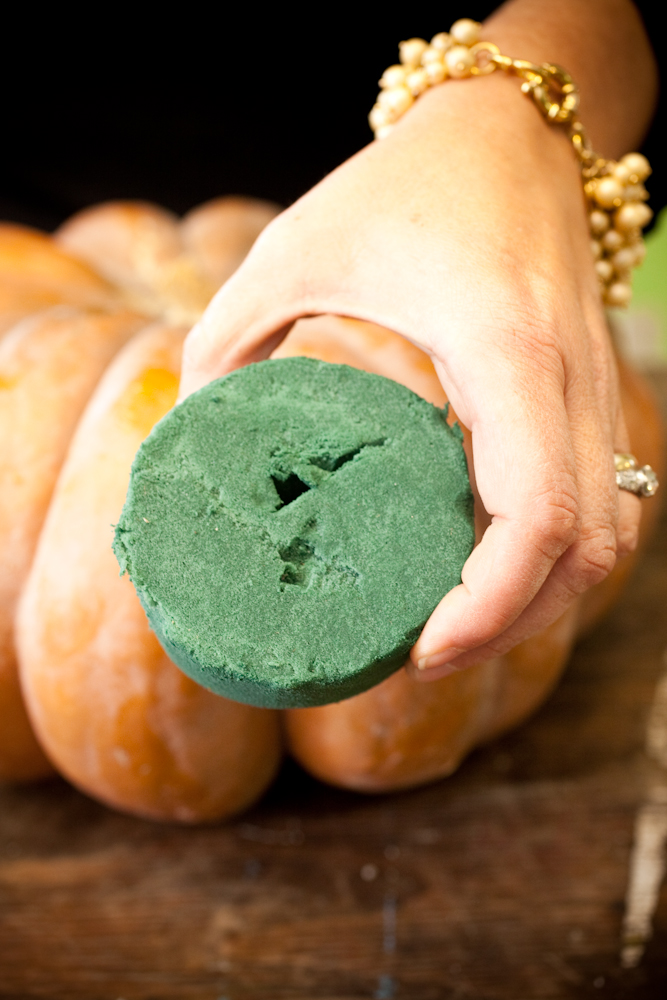
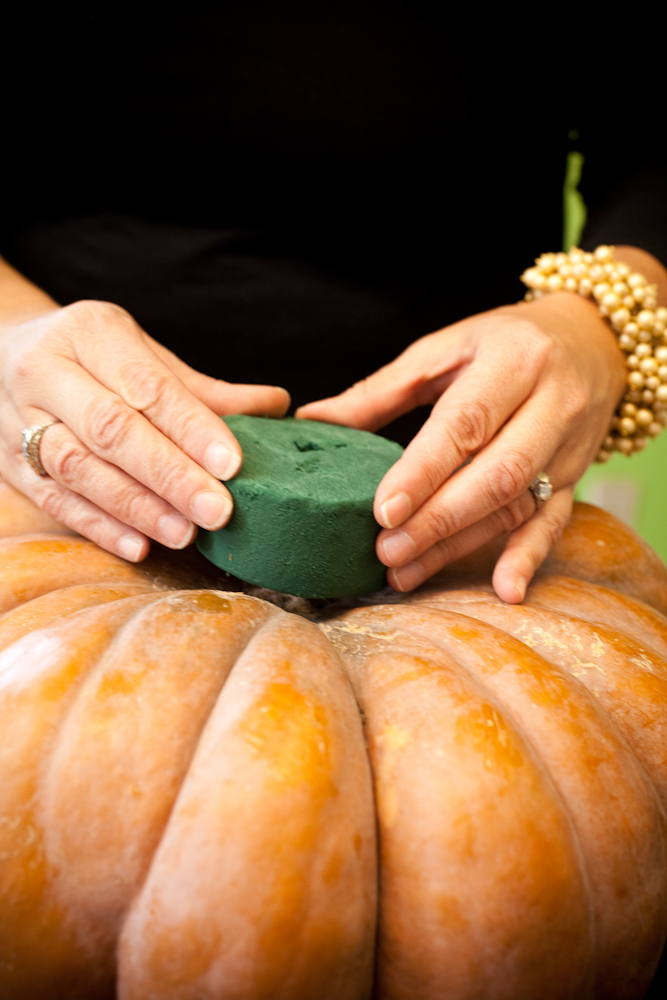
Step 13: Take a small piece of oasis and use that on top of the pumpkin stem. The stem will help to hold the oasis in place but if your pumpkin does not have a little dip or well in the center you can tape the oasis onto the pumpkin. For bigger fuller designs you would carve out the center of the pumpkin and fill it with oasis but that would be a design that would require a considerable amount of flowers and design abilities. It’s best to keep it simple when learning how to design.
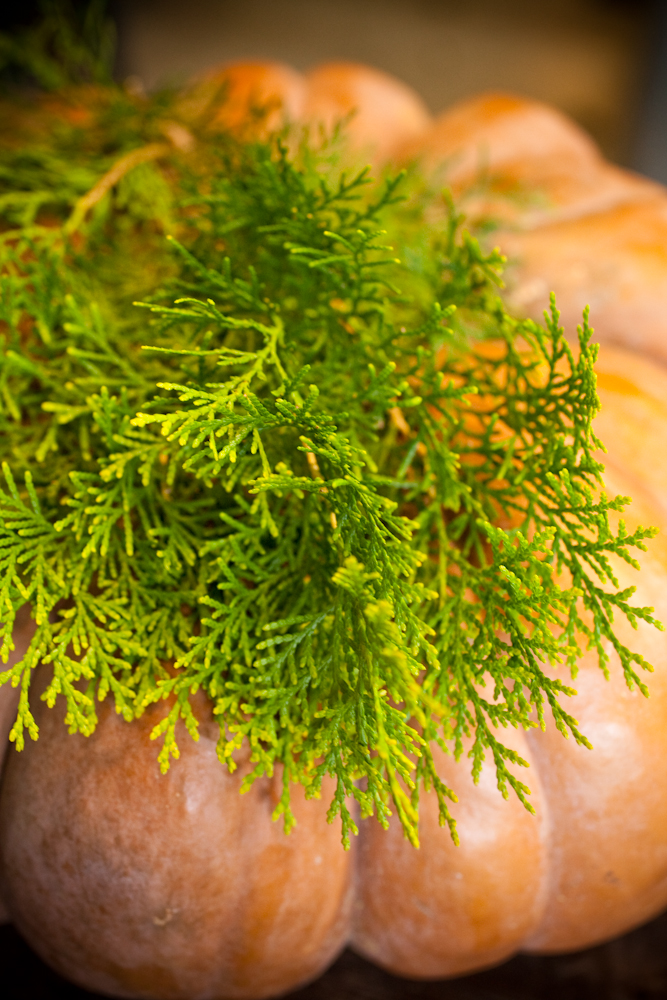
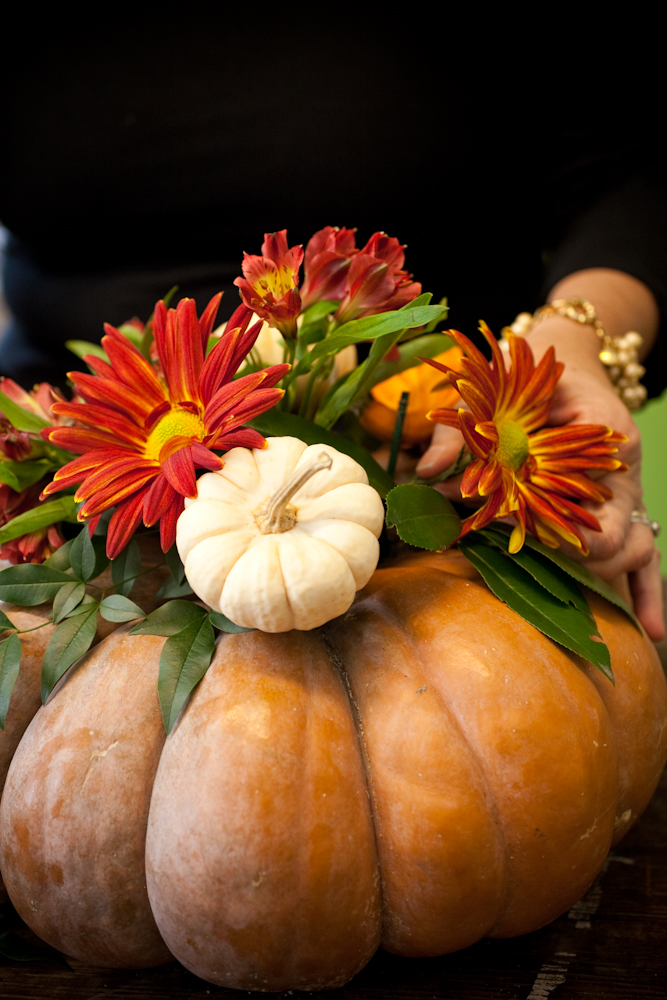
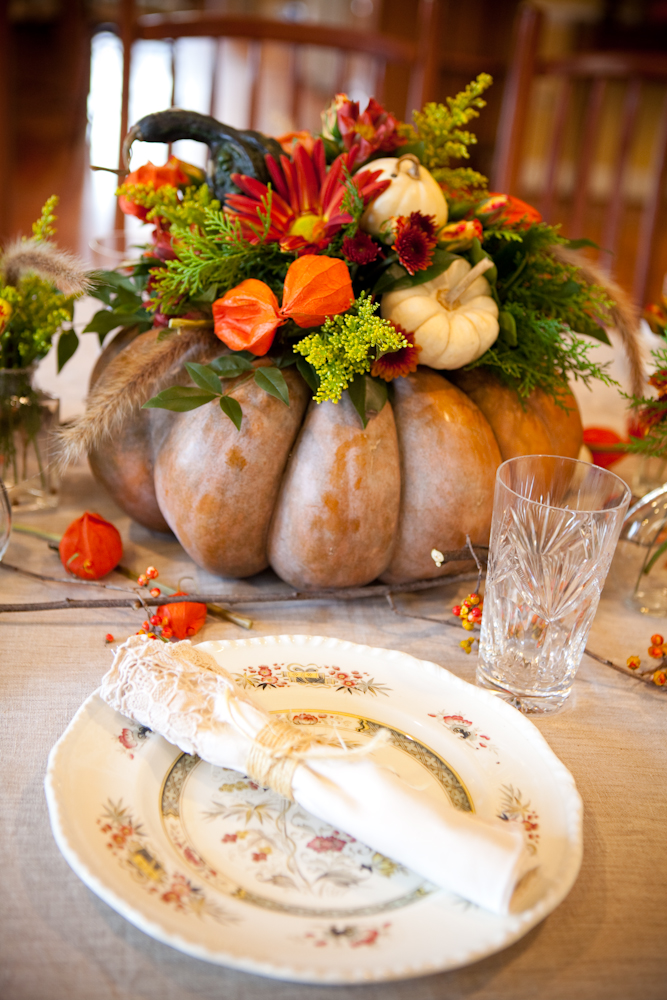
Step 14: See how the natural dip in the pumpkin created a little well. Start placing your greens at the bottom of the oasis and lay them cascading down the side of the pumpkin.
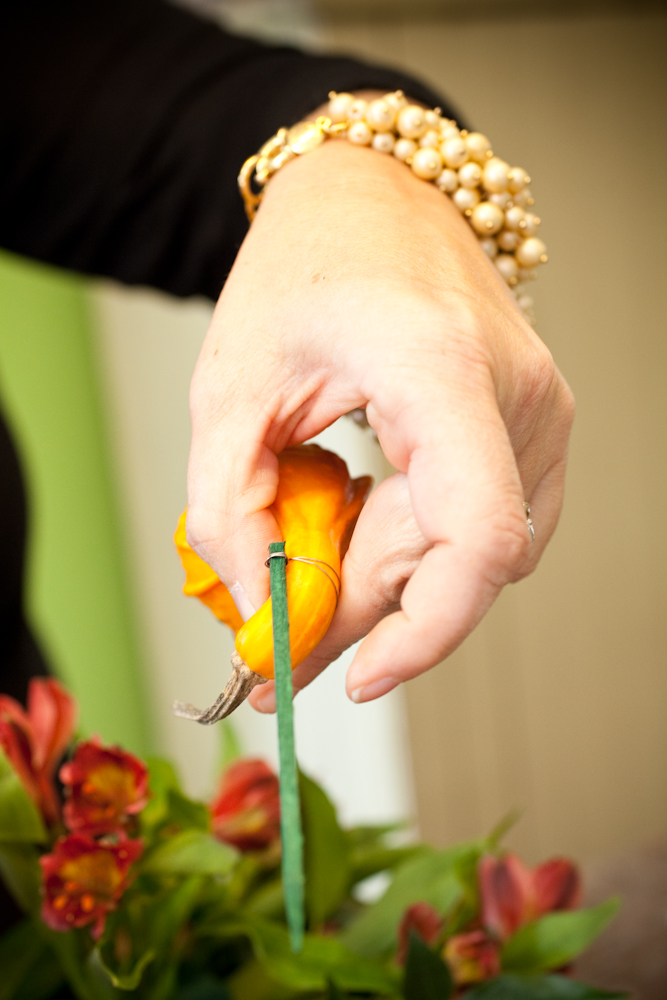
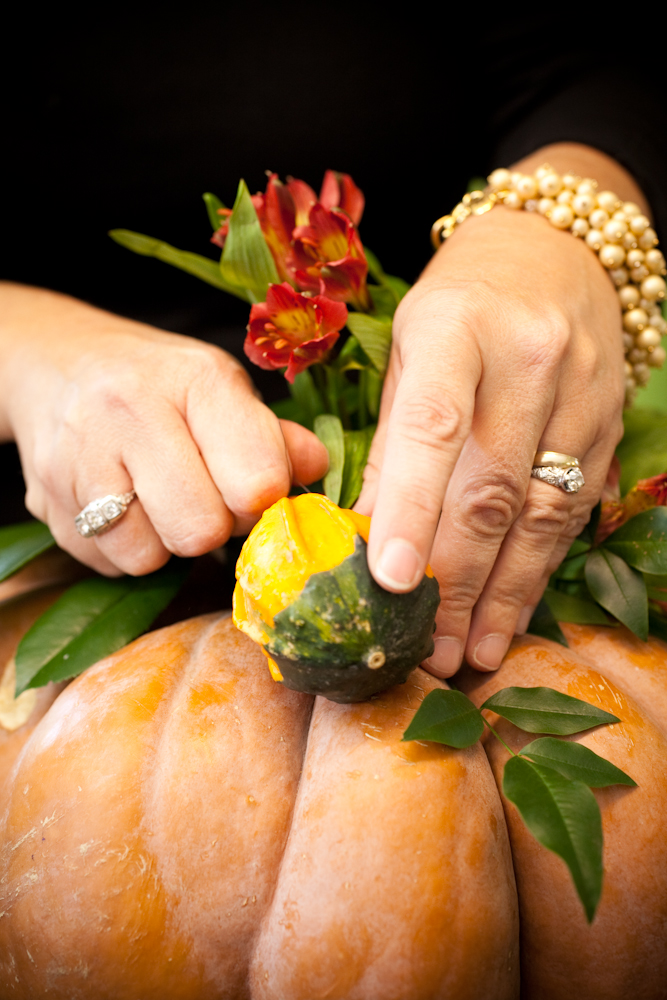
Step 15: Once the greens have been placed you can start adding the flowers. Pierce the mini pumpkins and gourds on one end with the stick or skewer and use the other end of the stick to insert the mini pumpkin or gourd into your design. Literally pierce the big pumpkin as well with the stick, this will keep the little fruits in place. You could actually use apples, pomegranates and pears as well.
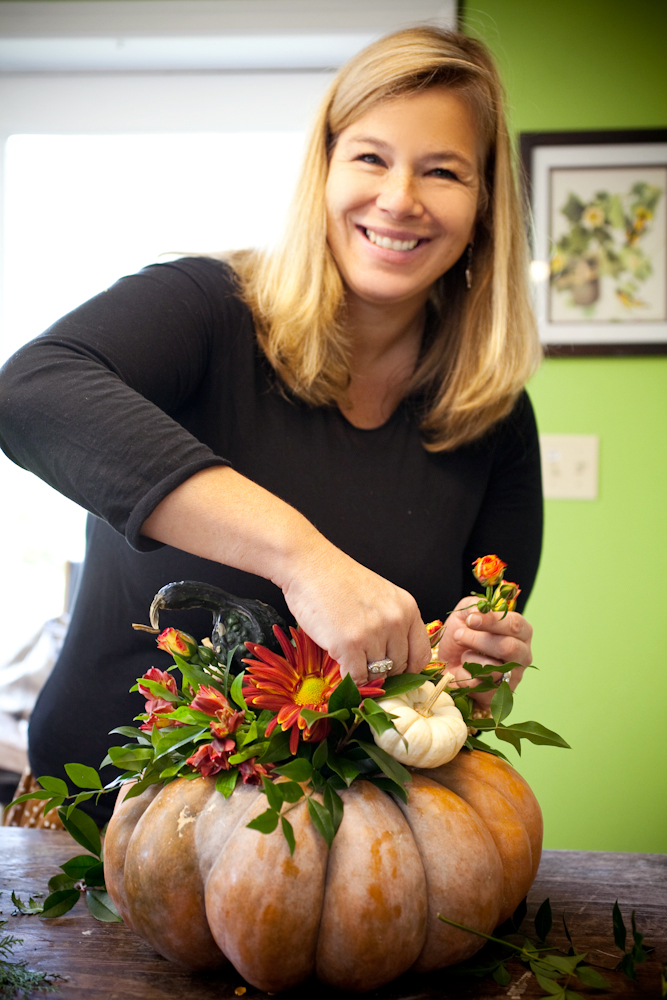
Step 16: Continue inserting greens and flowers into the design until no oasis is showing, covering the oasis is the hardest part which is another reason why I started with a very small piece of floral foam.
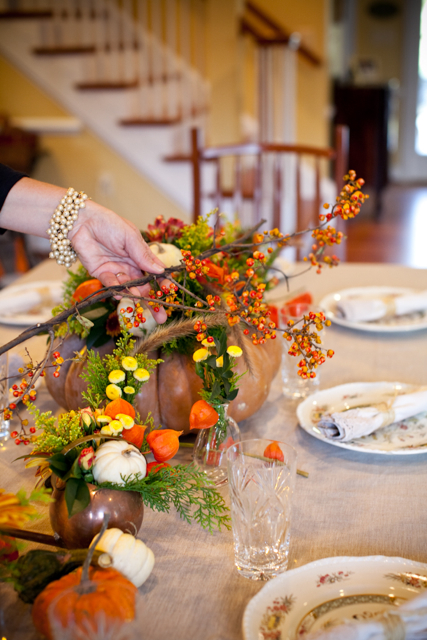
Step 17: Finish up all of your designs and head to the dining room!
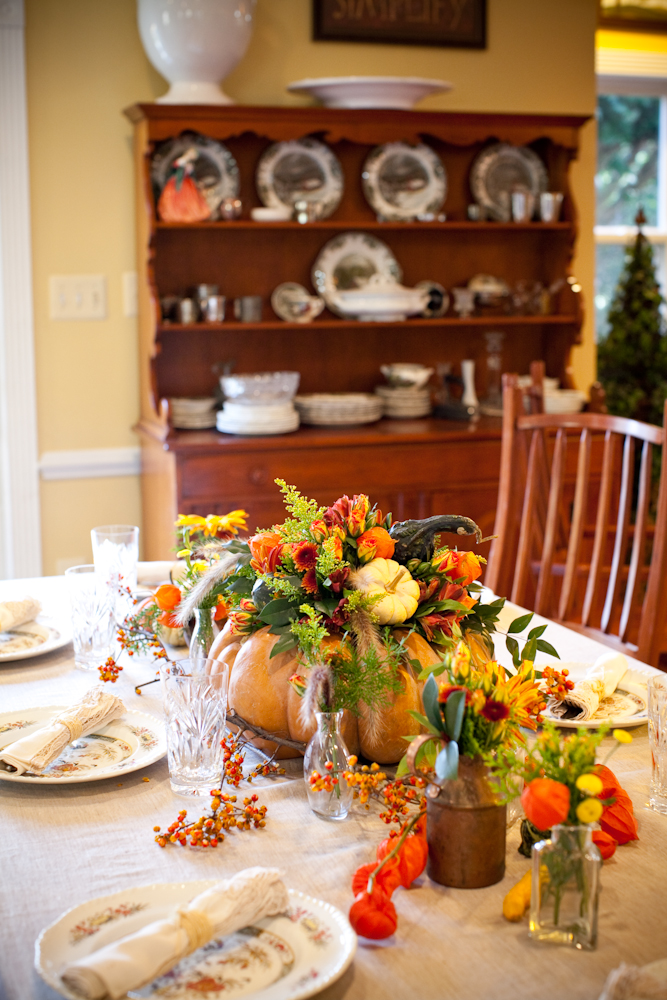
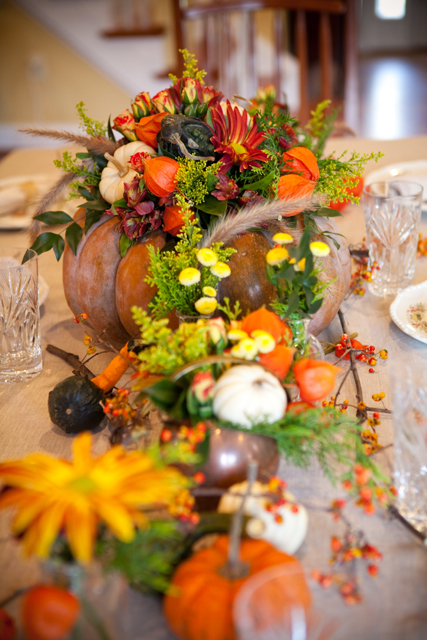
Step 18:. Place the large pumpkin design in the center of your table. This tablecloth came from Pottery Barn and its one of my favorites to use. Starting adding the bud vases. Perhaps the single pumpkin design is all you will need. You can place as many smaller designs along the table as you like. Then garnish the table with the bittersweet vine and small pieces of the chinese lantern.
For an even simpler version of this design you could use just the bud vases and the mini pumpkins and gourds. Good luck with your centerpiece and if you have any questions leave us a comment and we will respond as quickly as we can!!















Hello,
I’m French and I like very well that you create. I create floral compositions too, and I hope to open my shop. Thank you for your floral designs and “bouquets”.
I love this! The centerpiece is soooo pretty. And, so is Holly!!! Awesome pictures, G.L.!
[…] Alicia Jayne Florals: http://aliciajayneflorals.com/blog/?p=881 Holly Heider Chapel Flowers: https://thefullbouquetblog.com/2011/11/21/a-washingtonian-thanksgiving/ Colonial House of Flowers: http://www.colonialhouse.net/…/24/fall-by-colonial-house Isha […]
[…] table by visiting the links below. My Thanksgiving post is from last year and it can be seen here.Celebration FloralsIsha Foss EventsLiz Rusnac FloralSoiree Floral Sebesta DesignUrban PetalsAlicia […]
[…] Celebration Florals http://bit.ly/18ZUSOn Sebesta Design http://sebestadesign.wordpress.com/2013/11/24/fall-inspired/ Soiree Floral http://blog.soireefloral.com/2013/11/fall-inspired-creations.html Urban Petals http://myurbanpetals.wordpress.com/2013/11/25/fall-flowers-from-around-the-world/ Liz Rusnac Floral Design http://lizrusnacfloral.com/2013/11/fall-inspired-creations/ Isha Foss Events http://www.ishafoss.com/2013/11/thanksgiving-fall-florals.html Holly Chapple Flowers https://thefullbouquetblog.com/2011/11/21/a-washingtonian-thanksgiving/ […]